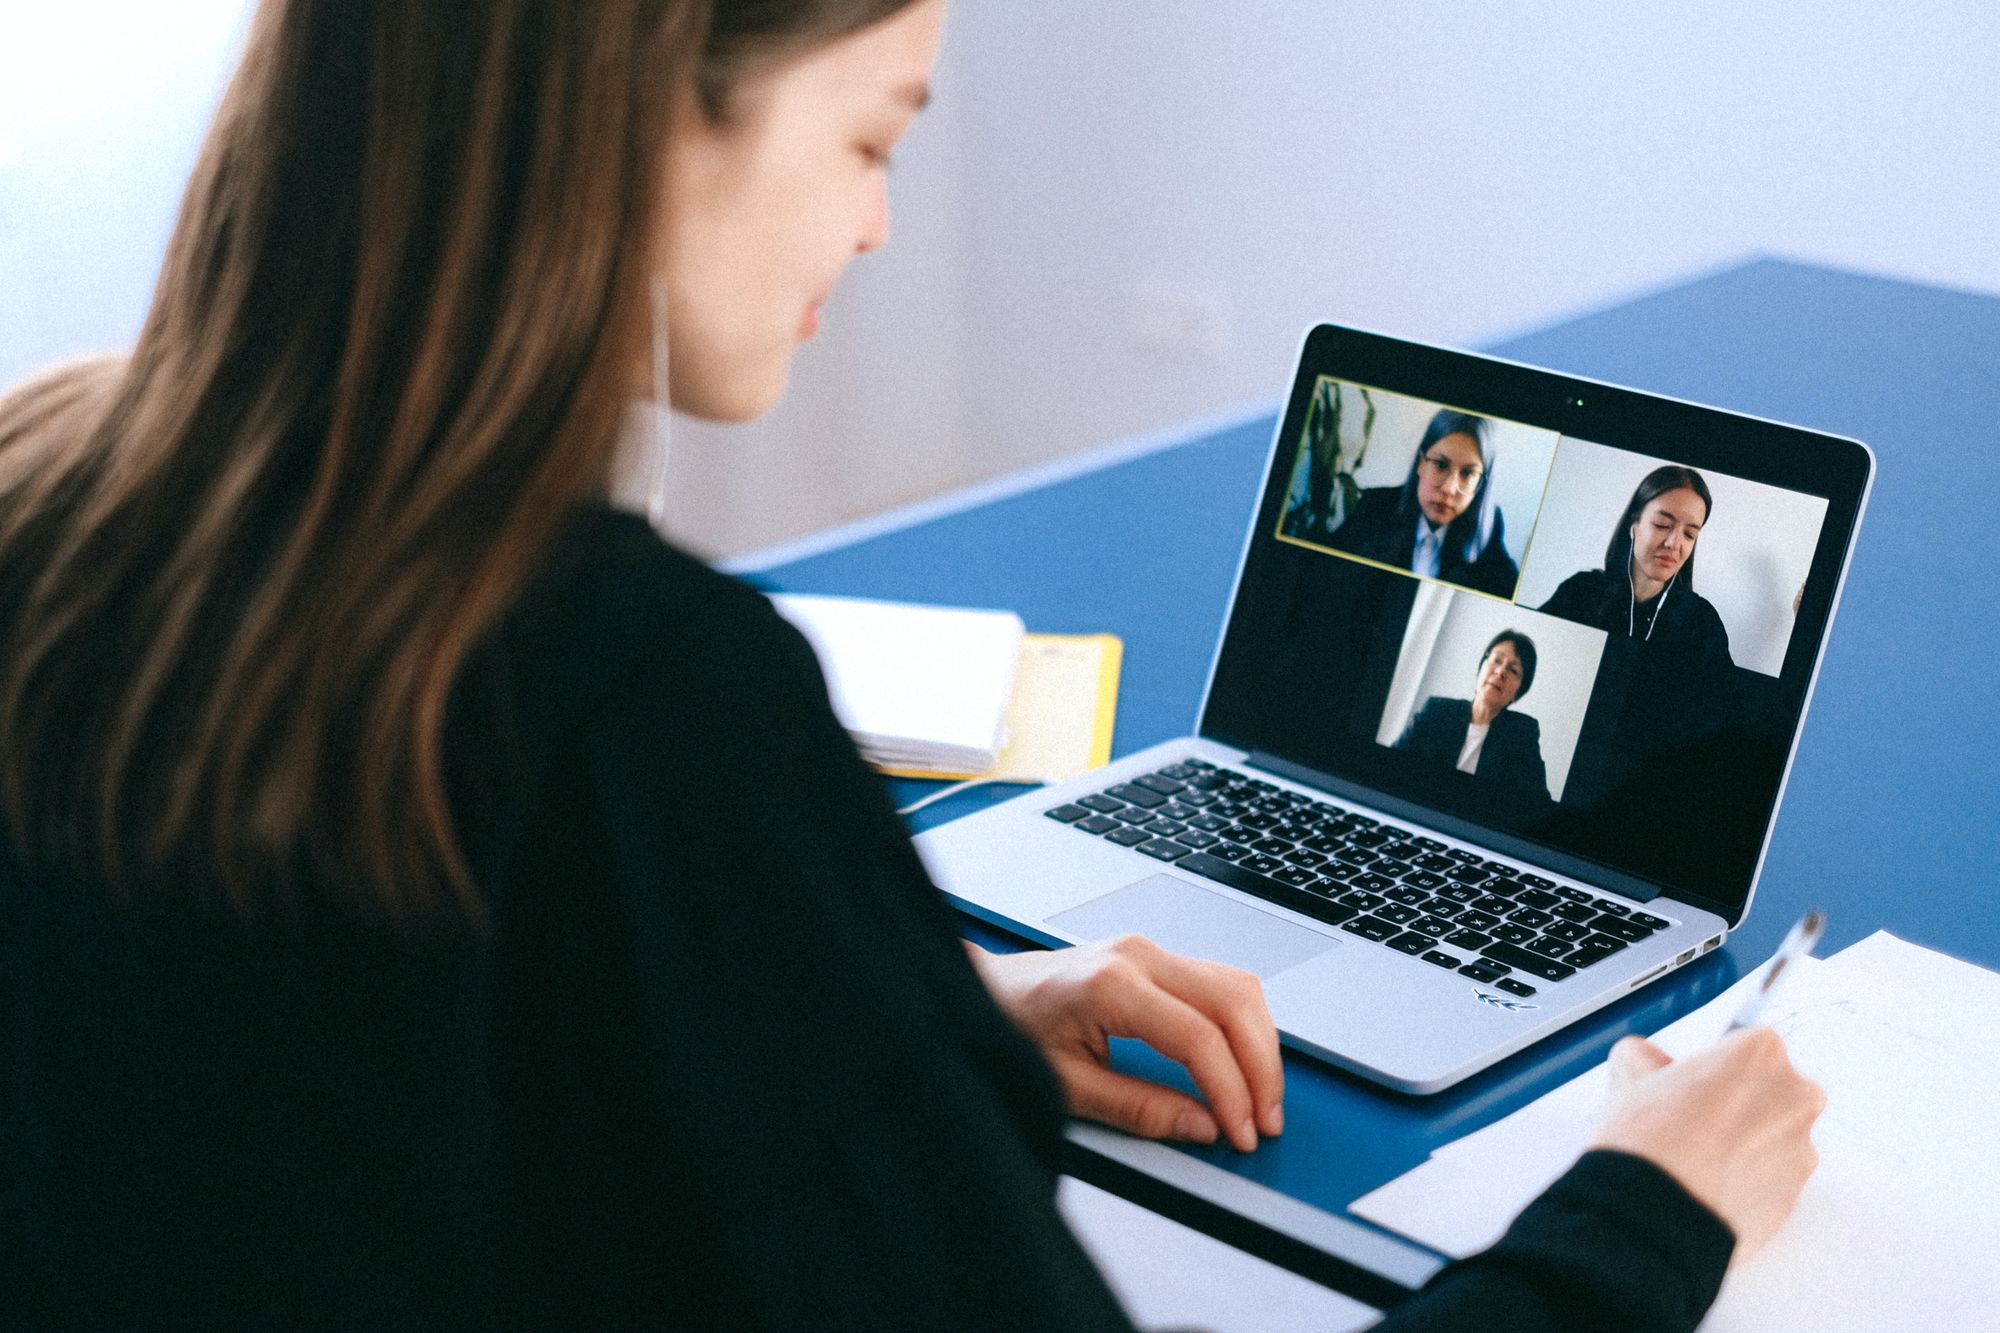
Zoom is well-recognized as a leading global video conferencing platform. As most people were able to work from home throughout the pandemic, Zoom has had a significant effect on productivity. Zoom has become a staple in most business operations with its high-quality video and webinar conferencing solutions.
As remote work continues to grow, virtual meetings have become a more common part of our daily schedule. Few people can be expected to retain every bit of critical information or idea discussed in lengthy Zoom meetings that fill up your day.
The best way to keep track of what was said in a Zoom meeting is to have a transcript of each session. Access to a Zoom recording transcript can help people with different learning preferences get a lot more out of Zoom meetings.
Benefits of Having a Zoom Recording Transcribed
- A convenient and quick way to find information
The frustration of sifting through lengthy MOM notes or recordings to find a single piece of information can be chaotic, especially when the average meeting lasts almost an hour.
Instead of spending time listening to a recording over and over again to find a piece of information you’re looking for - you can use a transcript to search for specific phrases, such as numbers (transactions, dates, etc.), deadlines, tasks, questions, etc., to get the exact details you need.
2. Aid marketing and SEO-discoverability efforts
Apart from being a central reference resource for important meetings for all internal teams in your company, a transcription of your meeting can be helpful in many other ways.
You can use a transcription of your latest webinar or marketing discussions and convert these to blog articles or social media posts. Web traffic and search engine rankings can benefit from having transcripts of your webinar videos uploaded to your site.
3. Better Productivity
Transcription and analysis of video conferences and group conversations may give valuable insight into employee output for any business. Decision-makers can use this to recognize strengths and weaknesses to build better strategies. This facilitates participation and communication, allowing individuals to benefit more from Zoom meetings.
How to Easily Transcribe a Zoom Recording with Typito
Step 1: Upload your Zoom video recording
Head over to Typito and log into your account. You can also get started directly and sign up for an account later.
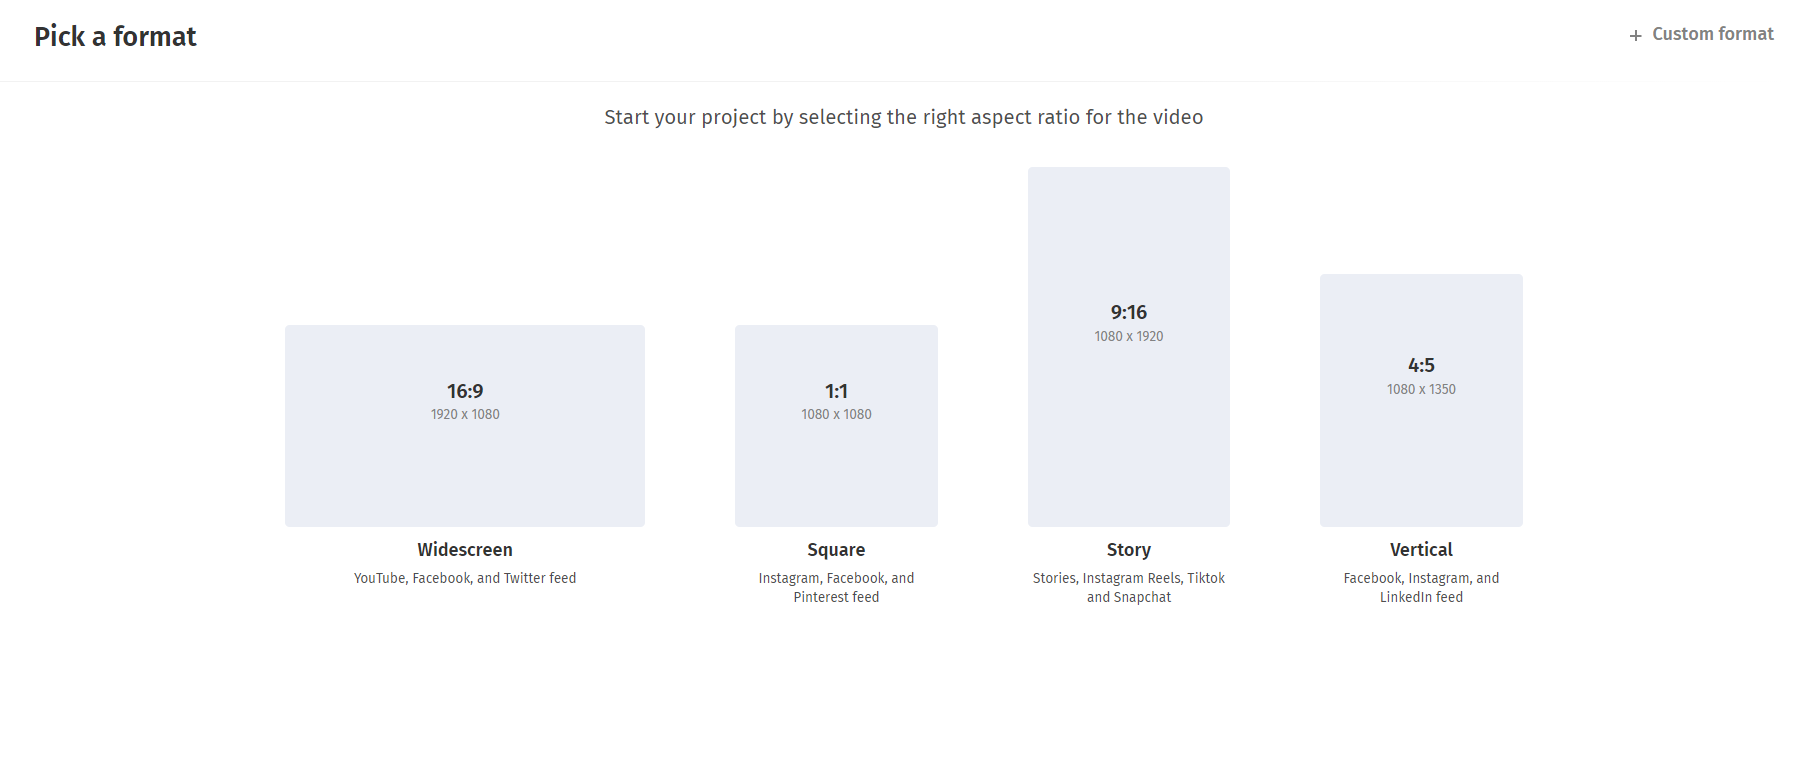
First, you'll have to pick a format that fits your video recording - in this case, a standard 16:9 widescreen will be appropriate.
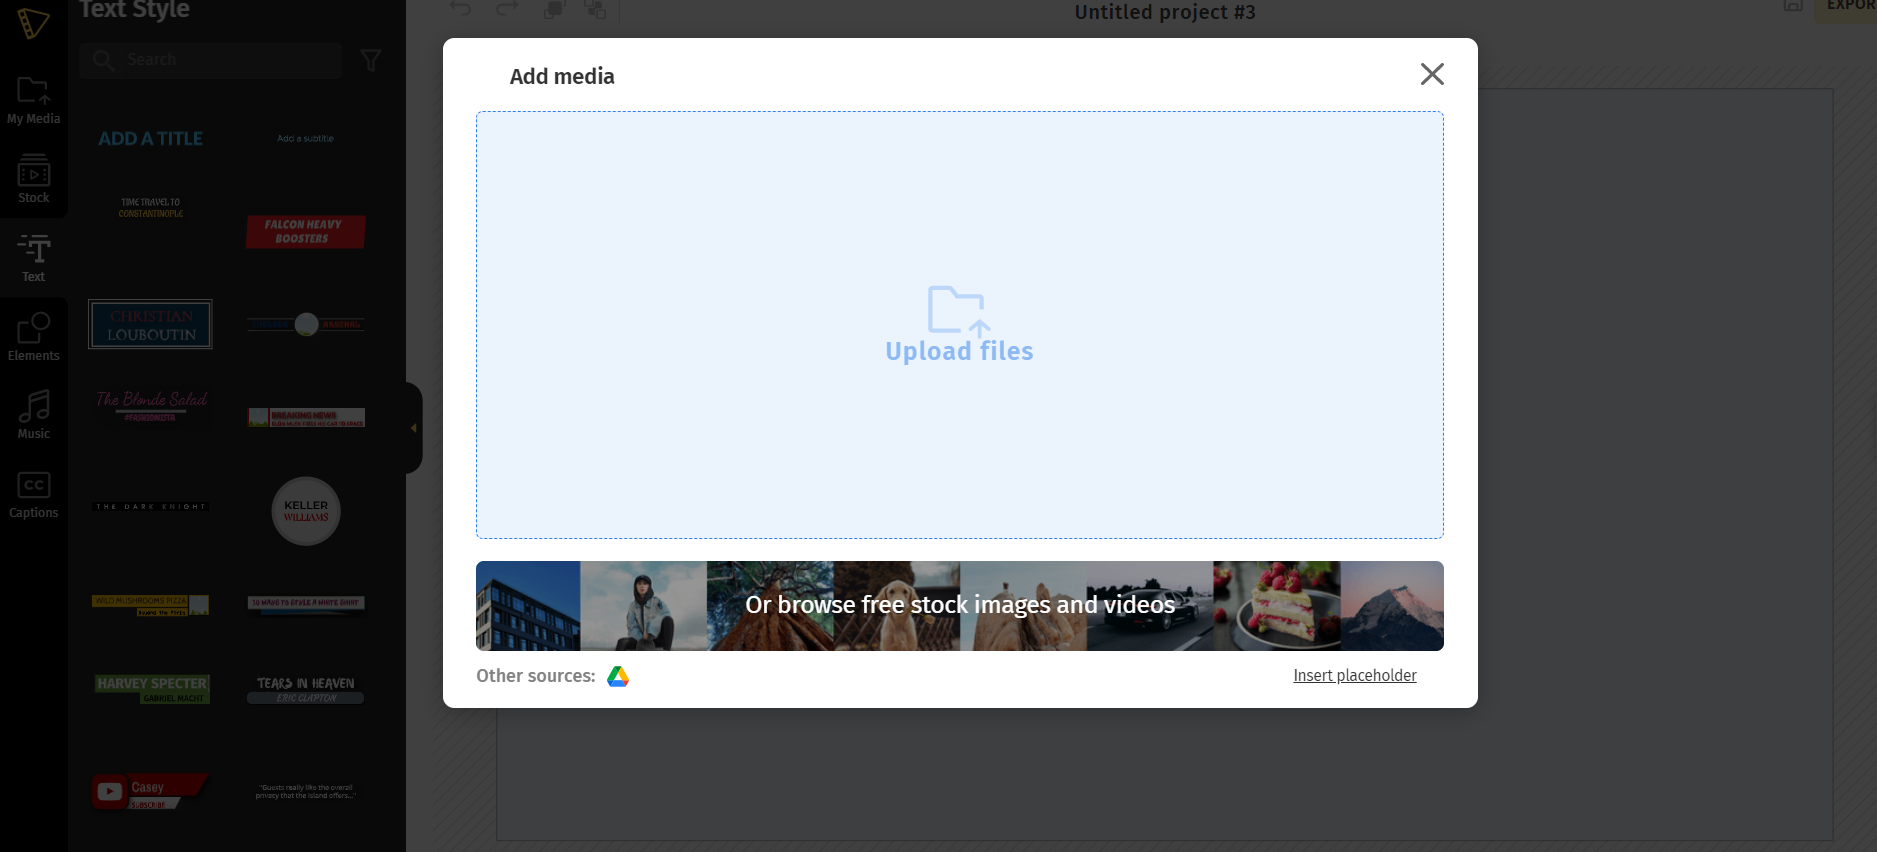
Having settled on a format, you can now upload your video. You can browse files from your local storage or drag and drop the video.
Step 2: Choose 'Auto-generate'
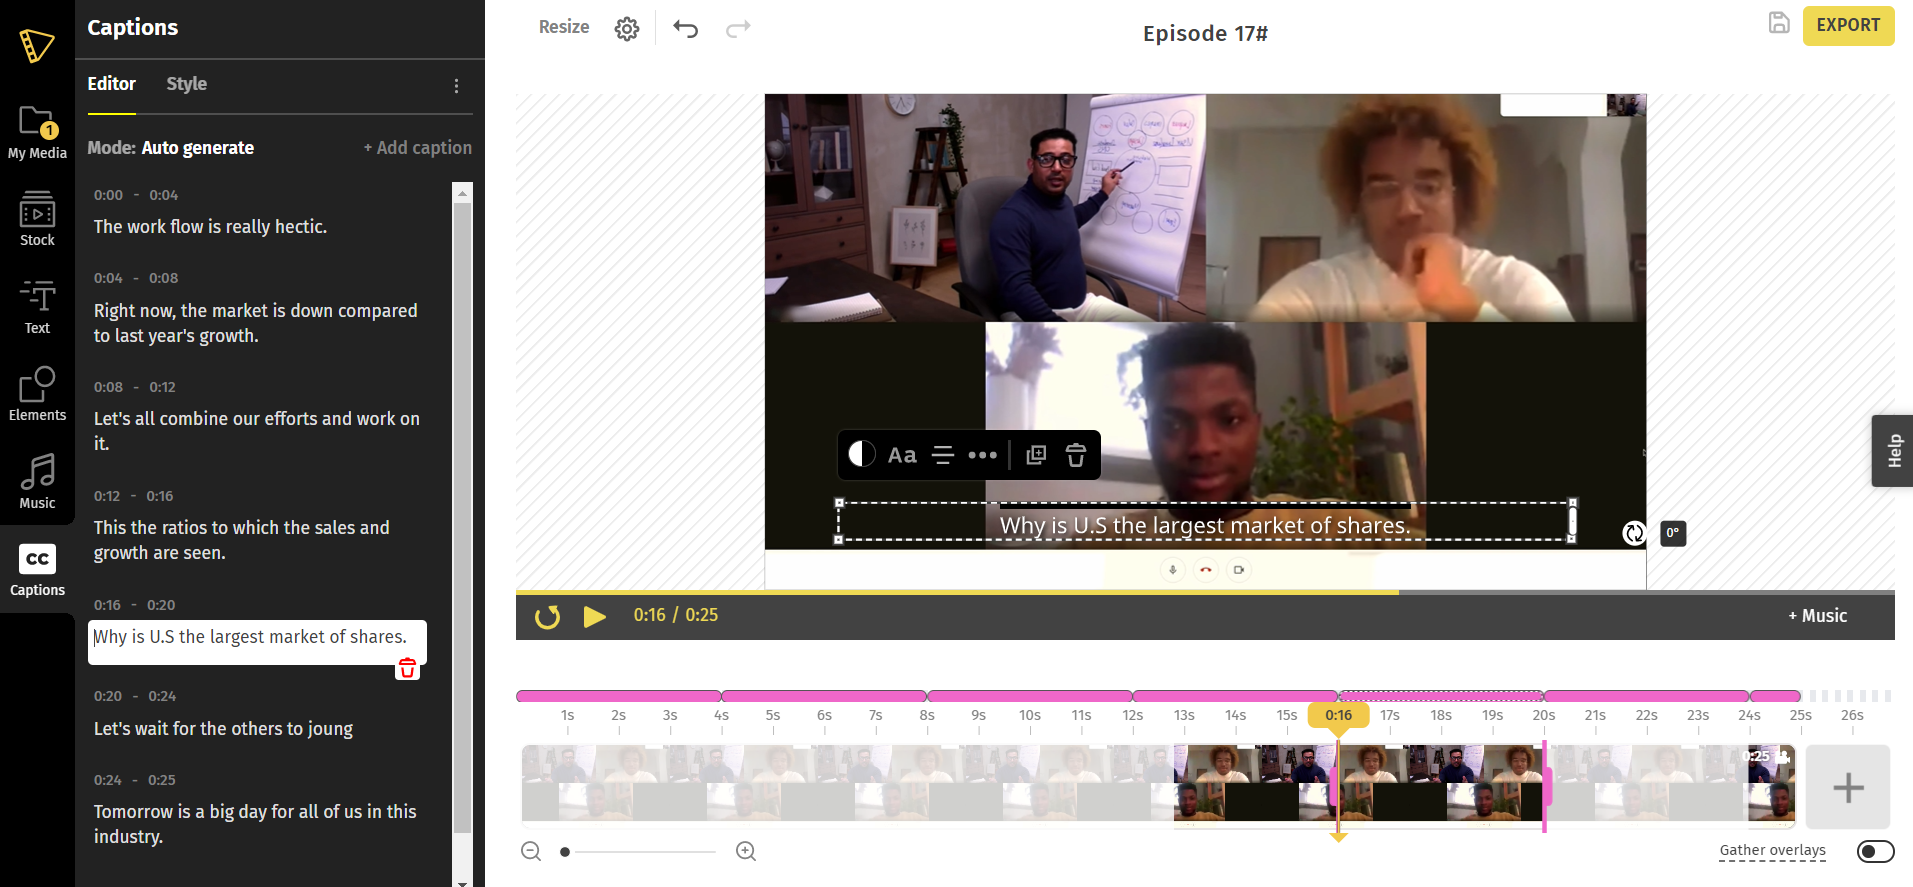
Click Captions from the left menu (the last tab with the "CC" image). Since we want to automatically generate a transcript, we'll go ahead with Auto-generate captions.
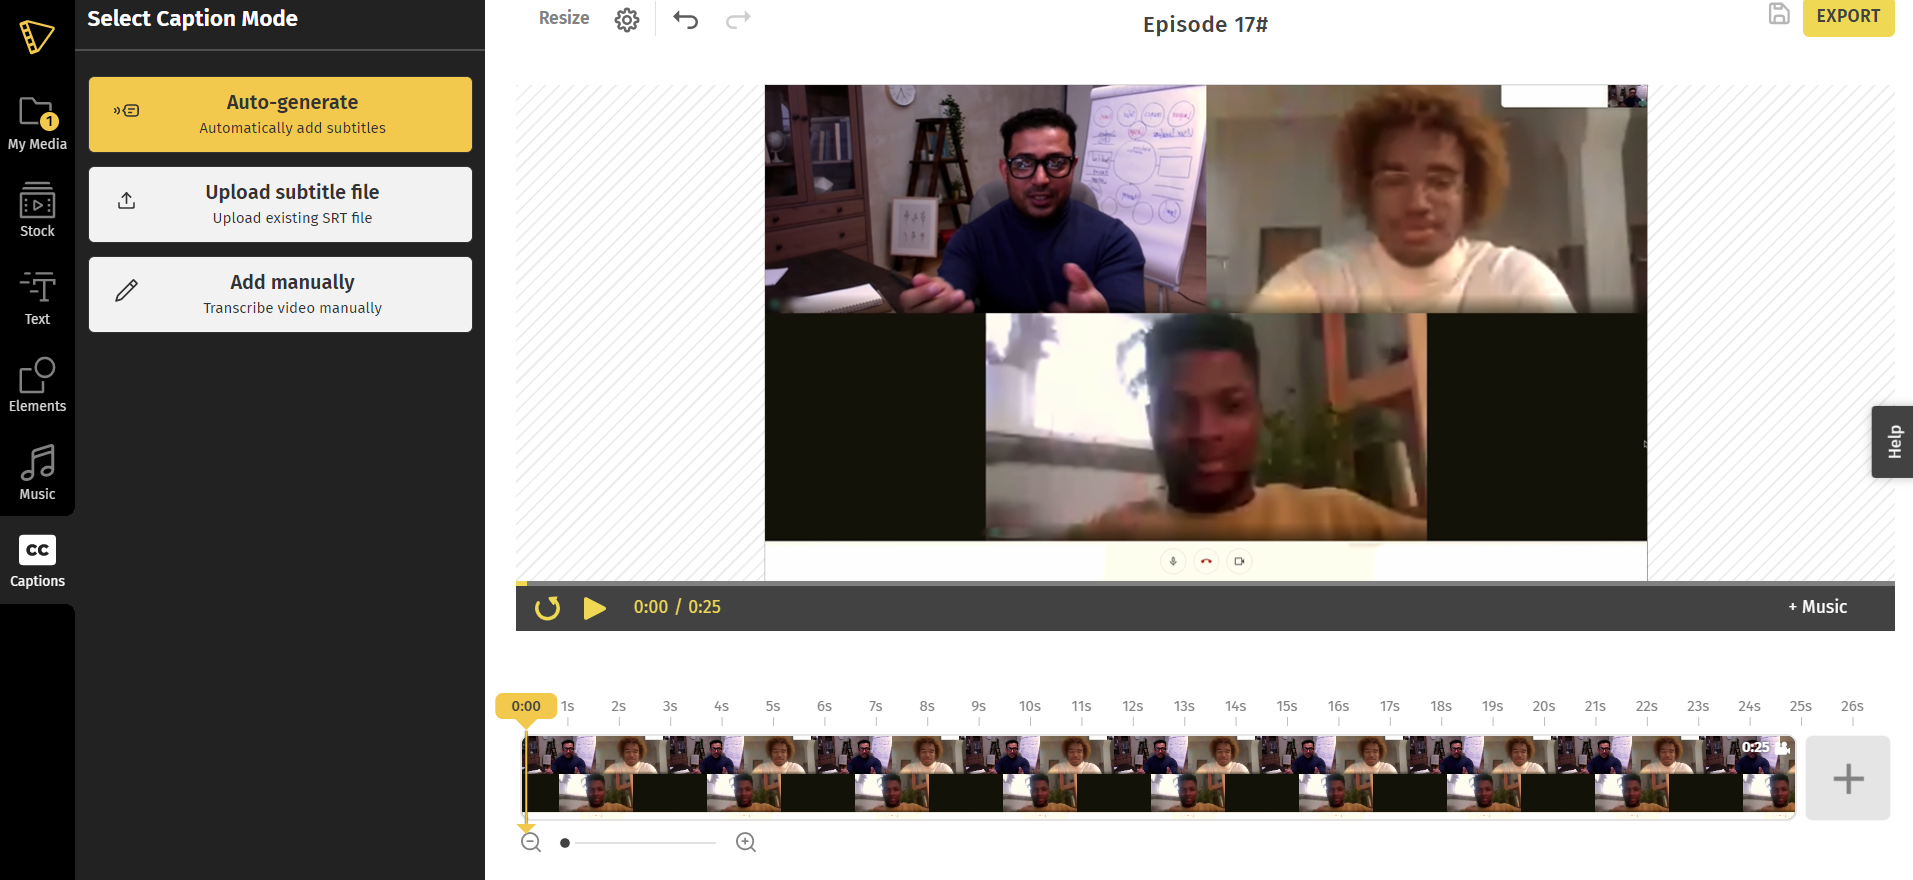
This is the most convenient way to generate captions automatically. You might potentially save a lot of time and energy if you use this method. It's the easiest way to get high-quality captions in a flash. The pre-training of the ML model based on the text annotation make this possible.
In case you want to generate translations for your Zoom recording, you can choose the original language of your video and the translated language in the next step.
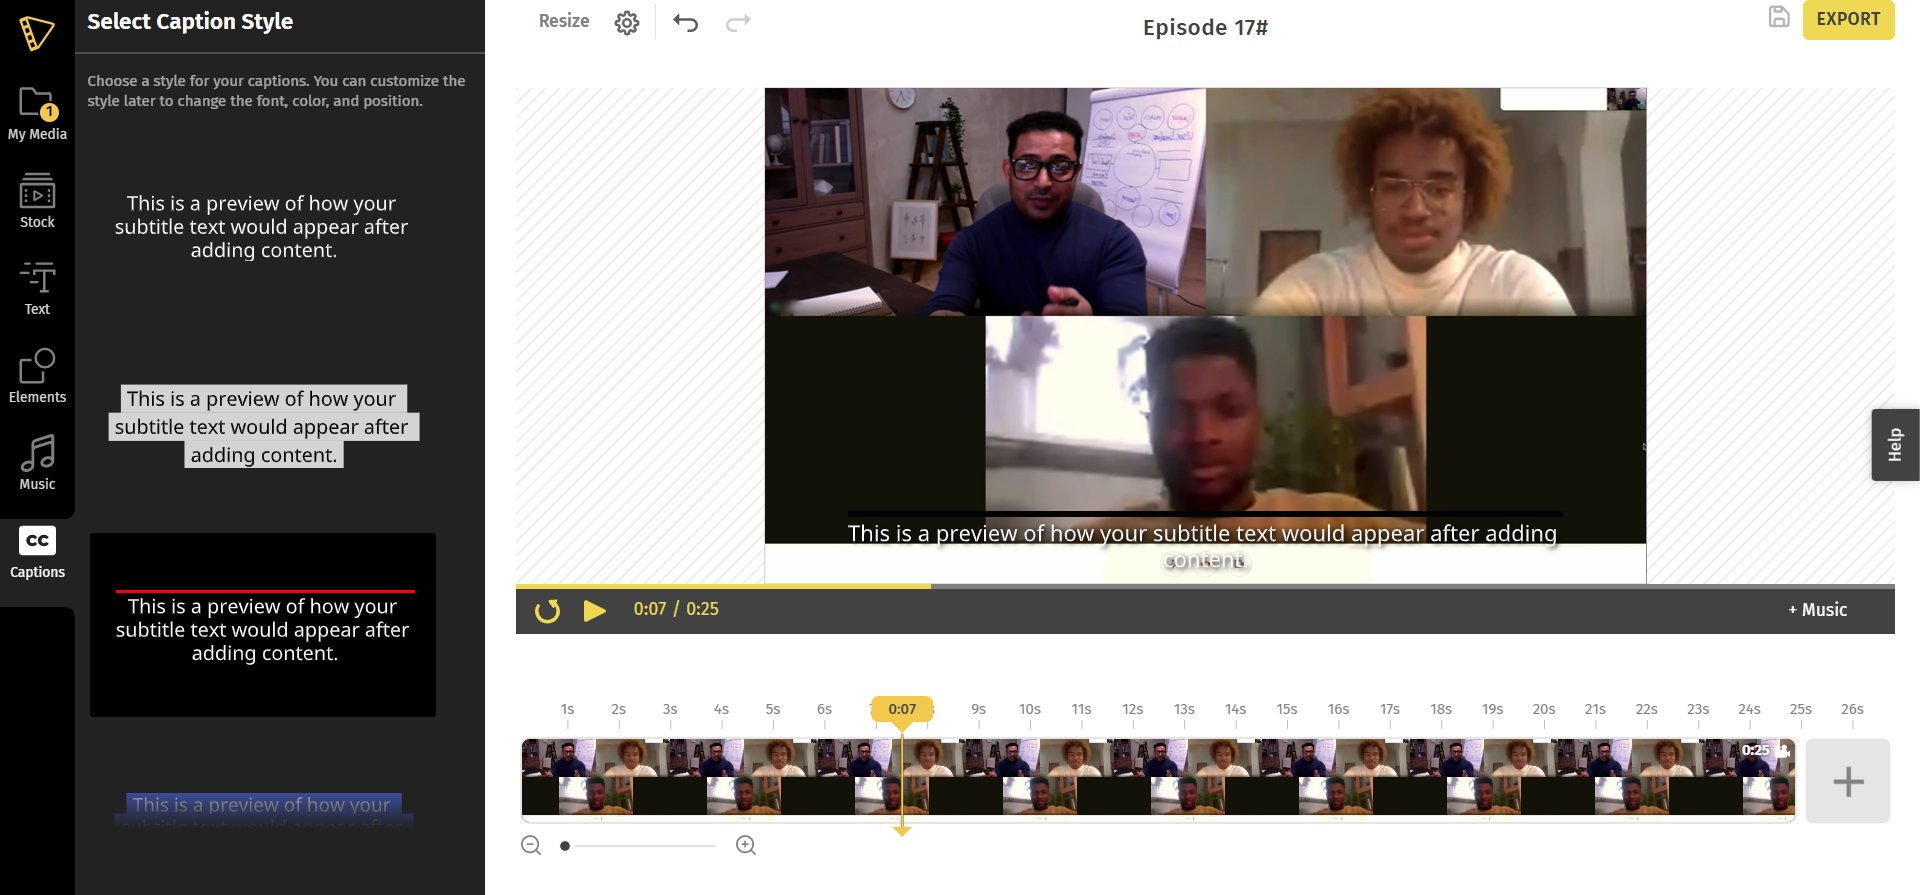
Next, choose a theme. You can choose simple styles or styles with more color and animation. Captions work best when placed at the video's bottom, but you can adjust their placement as needed.
Click on ‘Start’ to generate your captions.
After you've inserted captions, double-check them for typos and grammar mistakes. If required, edits may be made either on the left panel or within the video itself. Preview your video to make sure the editing is as you want it.
Step 3: Export and Download
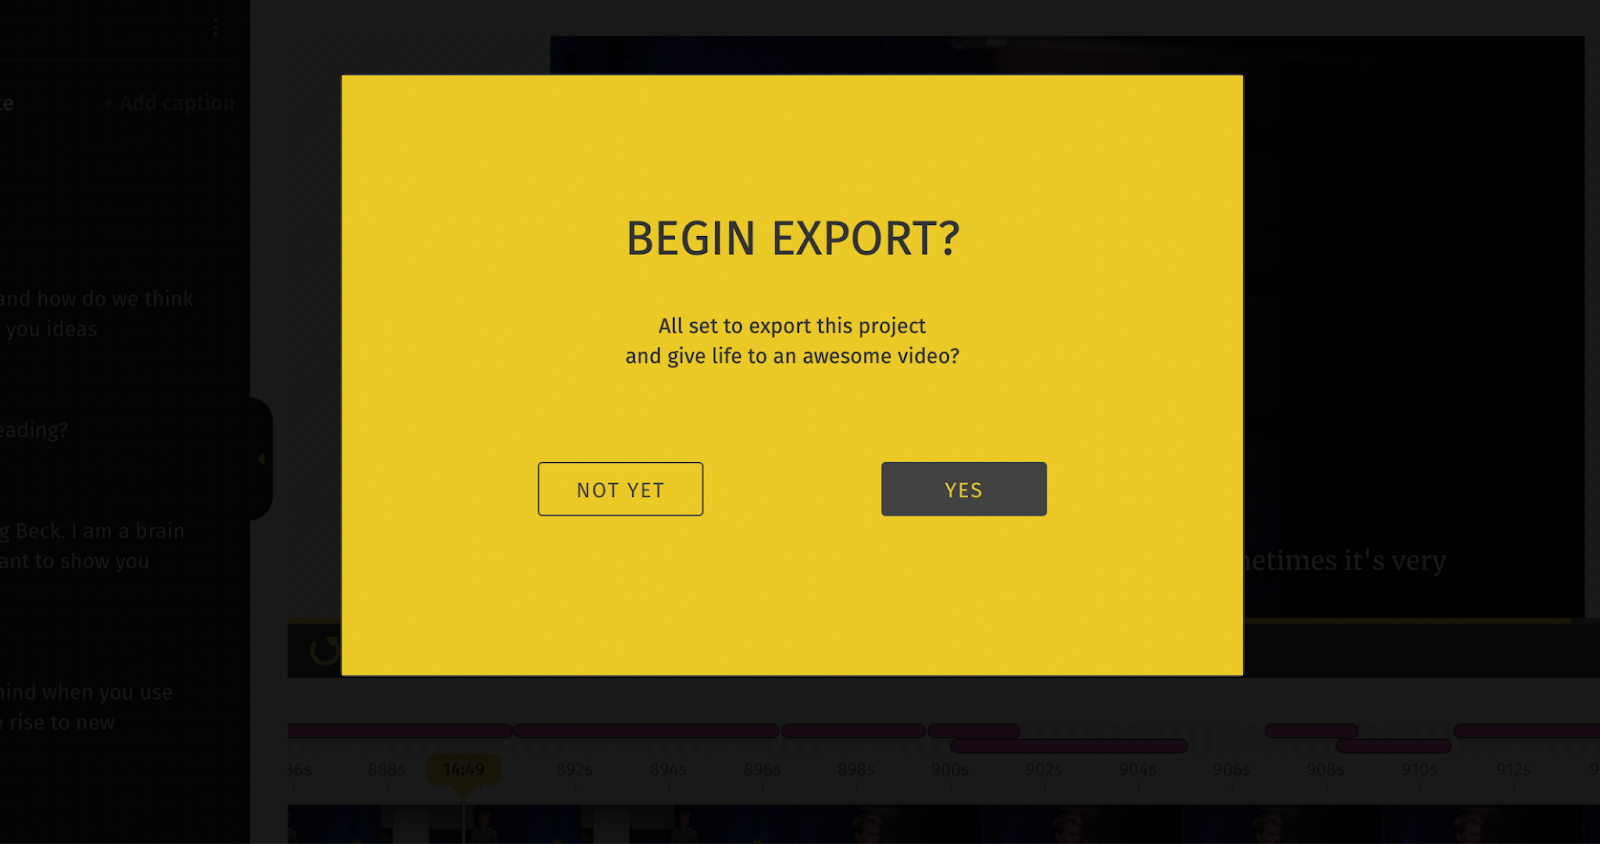
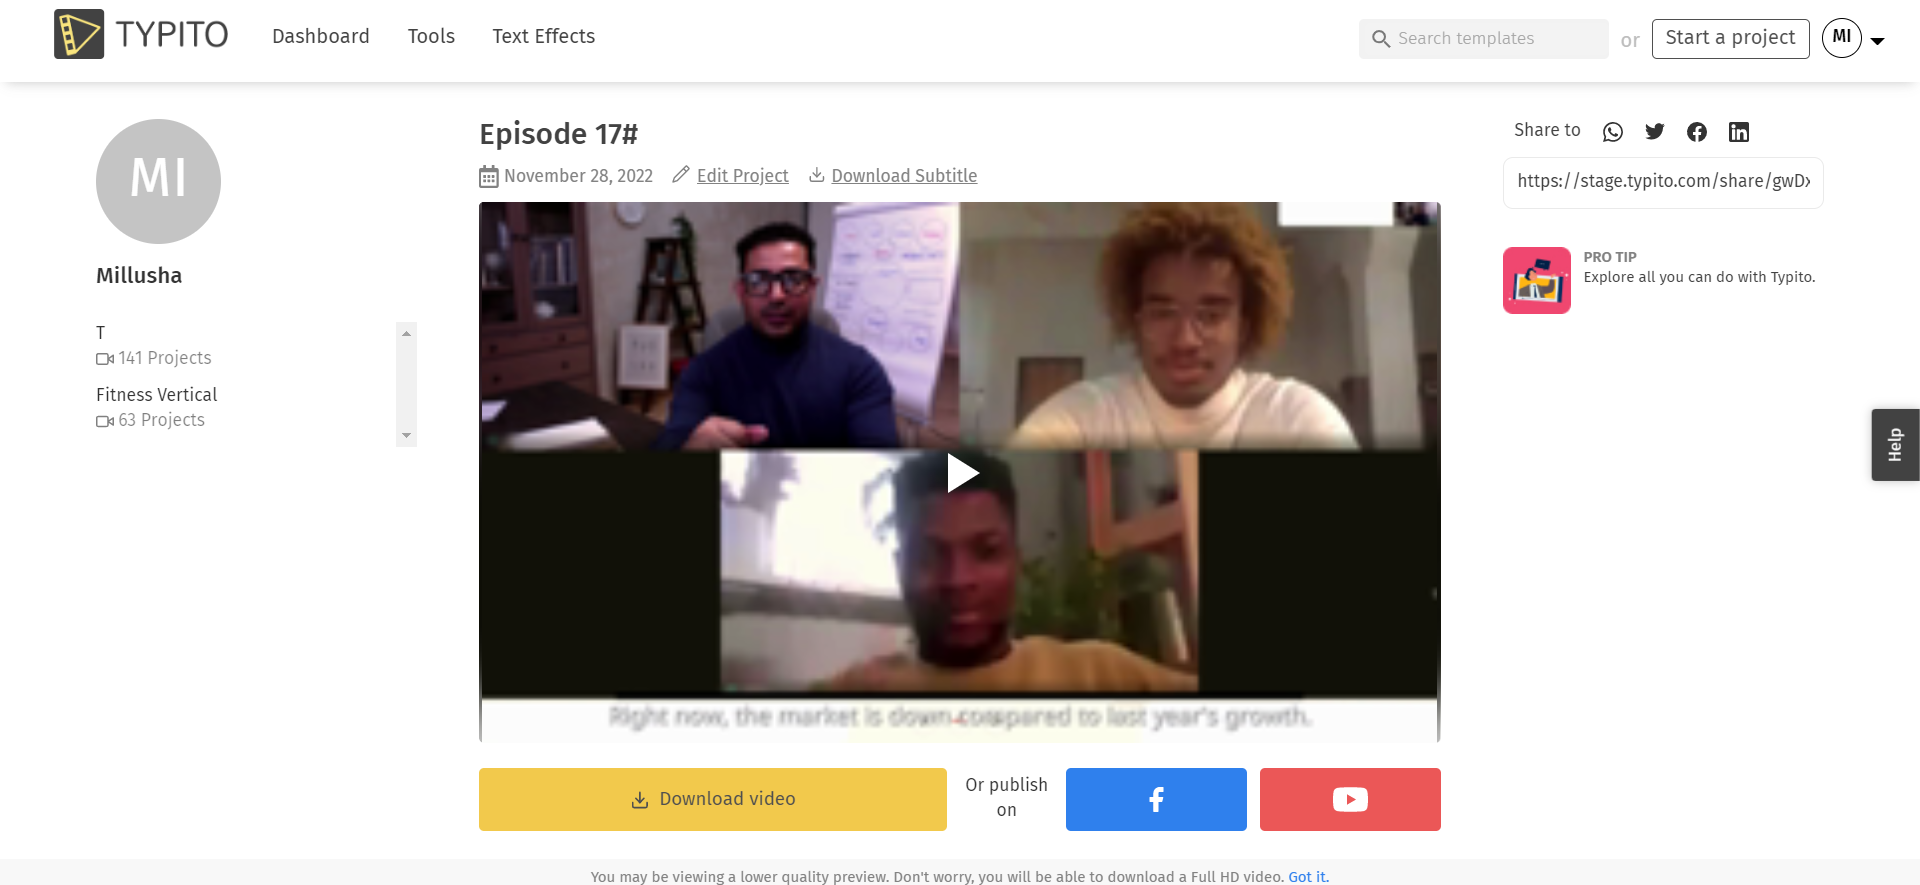
Select "Export" and then "Yes" to proceed. Your transcription file will be created in the '.srt' file format. At the very top of the video is a button labeled "download subtitles," which you may use to download the file to your computer.
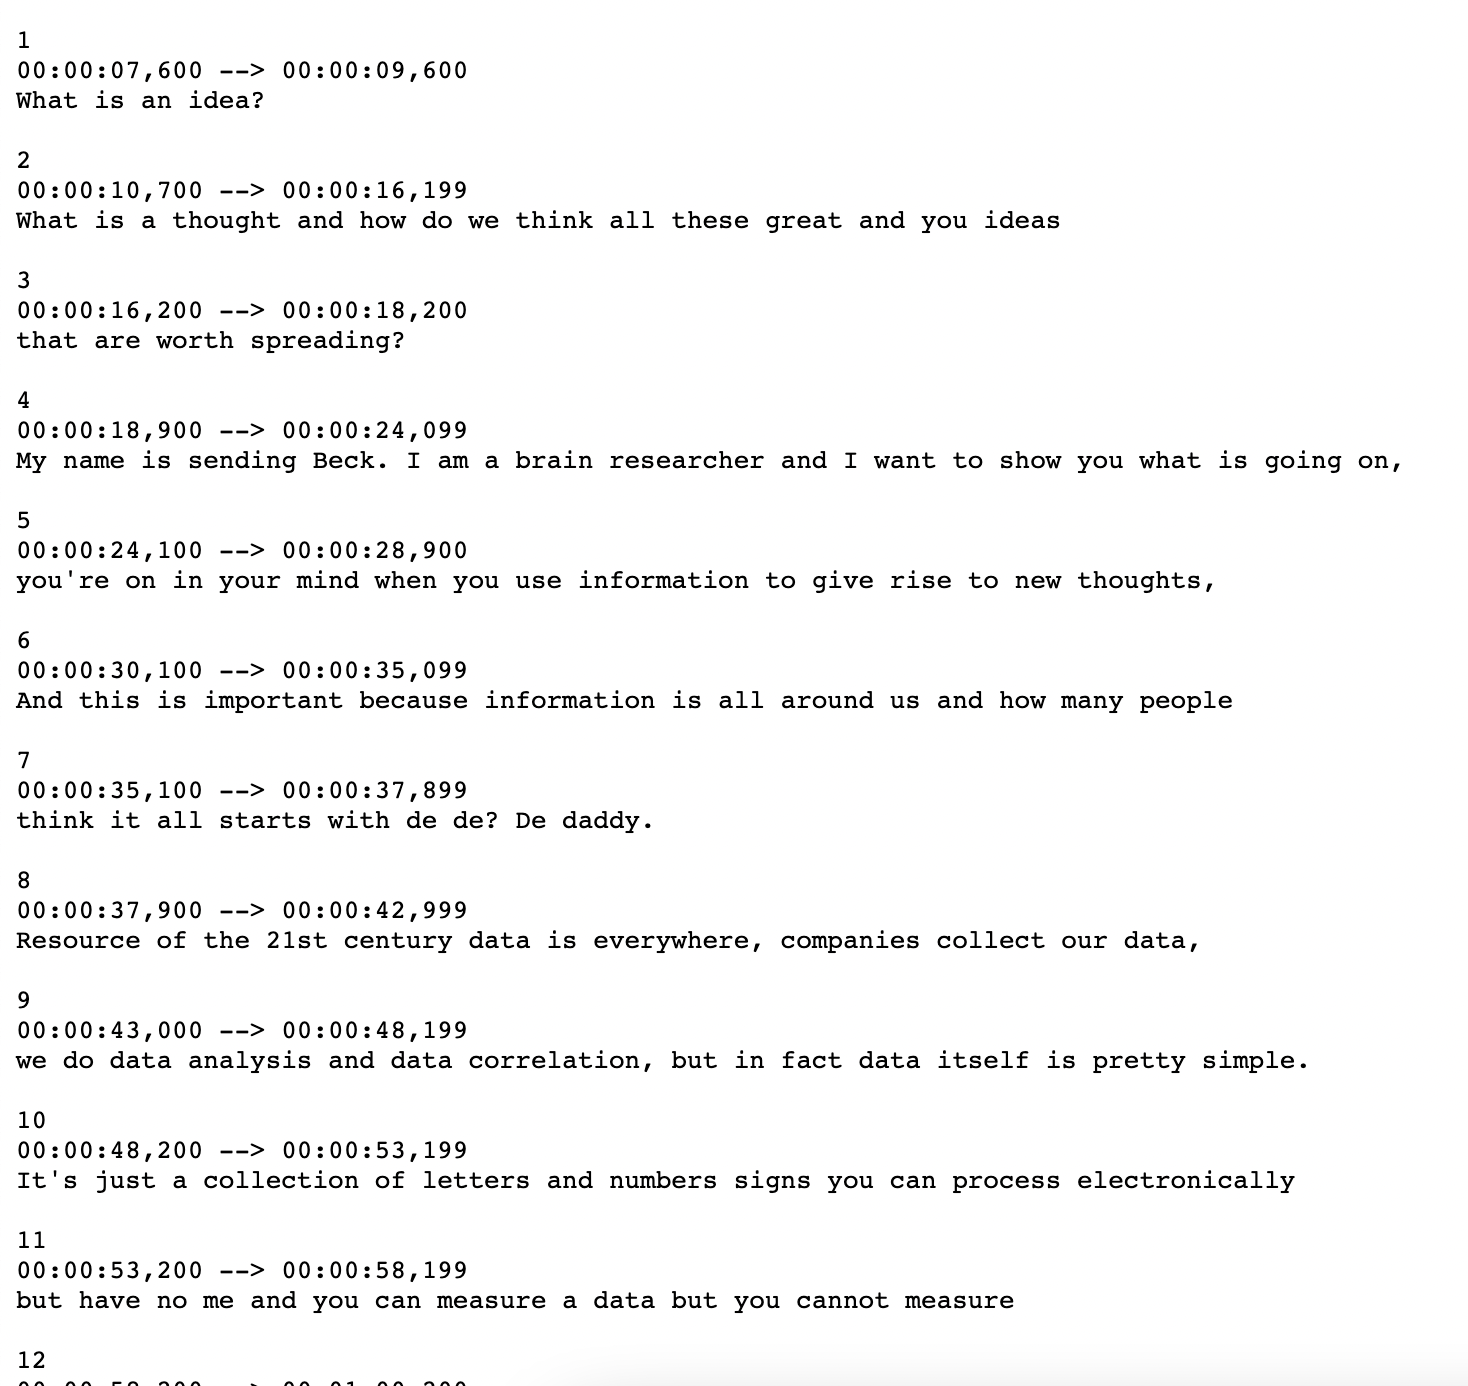
Once the download is complete, the file may be opened in any text editor, including the browser's default editor. In addition to the subtitles, you can see the timestamps for each subtitle.
The format of the .srt file you will download looks like this:
What to keep an eye out for when choosing a transcription tool
- Auto-generate accurate transcriptions - To save time, you'll want a transcription tool that isn't too complex and, most importantly, autogenerates transcriptions from the audio of the video.
- Edit Transcriptions - Having the ability to edit your transcription while you preview your video is a big bonus! This will help you catch any parts of your audio that aren't enunciated well and allow you to clarify such bits in your transcription file.
- Translate Transcriptions - If you work with a global team or want a translated copy of your transcriptions for your marketing copy, it might be helpful to have a tool that can also translate your Zoom transcriptions.
- Hardcoded subtitles - Finally, it's helpful to have a tool that can also generate hardcoded subtitles on your video.
How To Translate Zoom Videos?
If you're looking for a quick way to translate your Zoom videos - we can help. Typito's caption tool also allows auto-translation that's simple and quick.

FAQ'S
- What are the different types of Zoom recordings?
There are two types of Zoom recordings:
- Local recording - A Local Recording cannot be started by anybody other than the host. During the course of the meeting, the host is expected to grant permission to any other attendees who express an interest in taking notes or making recordings.
- Cloud Recording - The meeting recording will start as soon as the first participant attends, even if the host continues to be absent from the session. This recording will be stored in the host's 'My Recordings' tab, which will also be accessible in the future.
2. Can you transcribe an already recorded Zoom meeting?
Yes, it is possible to transcribe a Zoom conference that has previously been recorded. With platforms such as Typito, this process may be completed in a few simple stages. It is necessary for you to save and upload the recording. Follow these steps, and your meeting will be transcribed in a matter of minutes.
3. How to share, download and delete cloud recordings?
A. Get to your recordings in the cloud.
B. Find the cloud recording you want to share, download, or remove.
To share:
- On the recording's page, click Share.
- Adjust your sharing settings as desired.
- Click Copy Sharing Information, then go to your email or wherever you need to share the cloud recording and paste the sharing information.
To download:
- On the recording page, click the Download button.
Note: If accessing the recording as an admin, downloading cloud recordings is not an option.
To delete:
- On the recording's page, click the delete icon.
- In the Confirmation pop-up window, click Move to Trash.
Note: If accessing cloud recording as a user and auto-delete are enabled, you will have the option to disable auto-delete if your admin does not lock the option.
Final Take
Zoom transcriptions are used by the fastest-growing organizations to record their conversations, provide relevant excerpts, and increase meeting accessibility for remote employees.
The perfect software for Zoom transcription would include additional features in addition to basic transcription. The key takeaways should be easily accessible, allowing you to provide your team or customers with insightful, actionable information. You should be able to share transcripts with your colleagues and work together. It's crucial that everyone on your team can afford to subscribe to the service.
Typito is one of the most convenient methods for transcribing Zoom meetings. It's great for automatic transcription, multi-language translation, video subtitles, and more.
With Typito you can go beyond being able to transcribe a Zoom recording:
- Break your long Zoom recording into many shorter video snippets.
- Use your Zoom webinar recordings to create marketing content for your social media handles.
- Add auto-generated subtitles to the recording of your Zoom meeting or webinar.