How to Add A Logo to Your Video: 4 Easy Ways

Logos are everywhere. Looking around, I can spot five, from right here, sitting at my desk. Are you, as a business, adding logos where they matter - like in your videos? As a part of your branding efforts, your logo represents the essence of your brand’s personality. Your brand logo also helps amplify your branding efforts and makes your videos stand out.
According to a study done by design hill, if a business wants to foster customer loyalty. The first impression they create as a brand is incredibly important. Logos help you create a killer first impression.
We’ve compiled a guide covering the importance of choosing the right colors, fonts, some video best practices and explains four different ways you can add a logo to your video using Typito. Ready? Here we go.
There are a few important principles you should take into consideration before designing your masterpiece. Your logo needs to be:
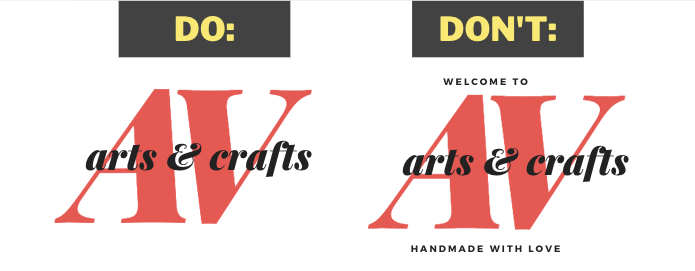
- Simple: ‘Less is more’ definitely applies in this case. If your logo has text, keep the text to a minimum - this will help the audience memorize it better.
- Versatile: Have two or three versions of your logo to see which fits your video project best.

- File Format: Use a PNG format of your logo. This type of image file lets you create a transparent background. Using PNG image formats also ensure that you cut off less of your video.

In addition to these video best practices, it's crucial to ensure that your logo fits seamlessly into your content. A custom logo maker will help you create a professional-looking logo that perfectly complements your video.
There are four different ways you can add a logo to a video using Typito— and go over all of them. The four ways are as follows:
Watermark- logo throughout the video
The logo as part of an engaging Intro
The logo with branded lower thirds templates
The logo as part of the outro
Prefer to watch? We’ve got you covered.
For those who like to read, let’s get into it.
Watermark: A logo throughout the video
This one is pretty simple.
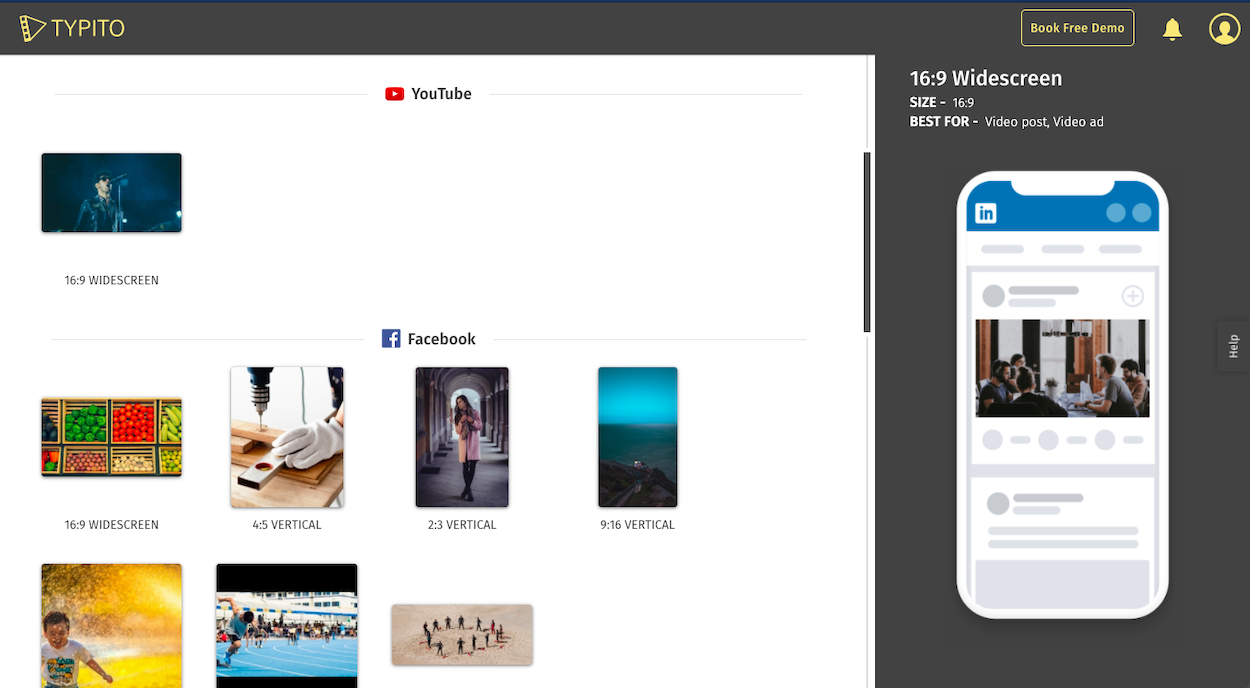
Log on to Typito to get started (Don’t have an existing account ? Upload your videos and get started for free here.) Click the ‘New Project’ button and choose a format that best fits your needs. Upload your video onto Typito.
Once you arrive onto the Typito timeline. It’s time to upload your logo. Click ‘Images’ from the menu on the left to upload your logo. You can select your image file from your system.

Once uploaded, your logo is added to the timeline of your video as an overlay. Next, we’ll need to position this logo appropriately on our video frame and resize it if needed.
Click on the image thumbnail to resize it. The important thing is to ensure that your logo is visible - neither too large and distracting that it takes attention away from the video, nor should it be too small that it goes unnoticed.
If you want the logo to be visible throughout the video, you’ll need to increase the duration of the logo overlay. Click on the logo and extend the overlay by dragging the handle to either side of the project.

And you’re done! Now give the video a quick preview to check for any final changes you might want to make- and click export whenever you’re ready.
It really is that easy!
2. The logo as part of an engaging Intro
The first five seconds of a video is crucial, so it is essential to make an impact.
Once you have the attention of the audience, subtly tell them who you are with your logo. If you’re using Typito, you can choose from a variety of animated templates.
The initial steps of the process remain the same. Click the “Text” tab on the left side and choose ‘Titles’. Select an appropriate template that matches your video style.
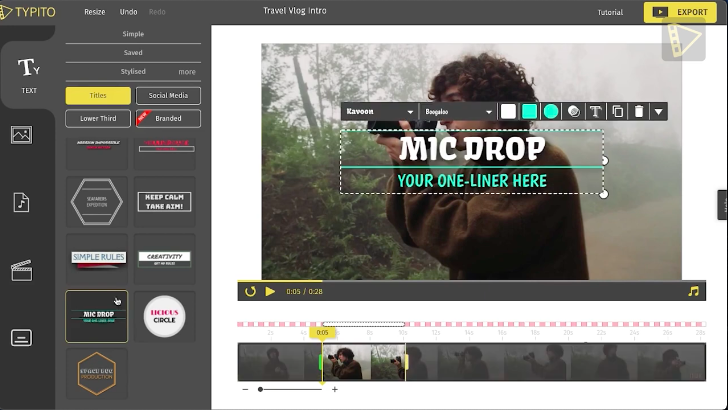
Next, upload your logo. To do this, click the ‘Images’ tab and upload your logo as a PNG file.
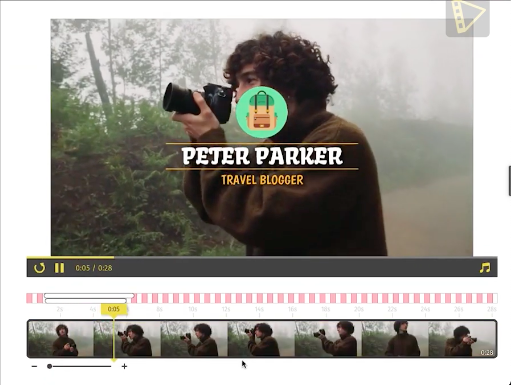
You can resize both - the logo and your title or just the logo individually, if needed. To add some final touches, make sure the duration of both the logo and text are the same.
There you go- A logo in your video Intro!
3. The logo with branded lower thirds templates

In the ‘Text’ tab, click on ‘lower thirds’. These lower third templates can be customized with a color or font that’s brand compliant. With these templates, you can add a brand logo, business name, and designation of the person being interviewed.
The alignment of your template will depend on your video. You can try out placing it to the left or right and playing your video to see which position works best. To look at the placement of the lower third template. If it looks good, go ahead and click export.
4. The logo as part of the outro
TIP! Adding a logo at the end of your videos helps people associate your brand with a call to action and allows you to build trust with potential customers.
To create a project, the same steps apply as shown before. Head over to your Typito editing panel- choose a video format and upload your video.
To find a good outro template to show the call to action, go to Typito’s template gallery and search for ‘outro’ templates. Scroll through the options to find something that catches your eye.
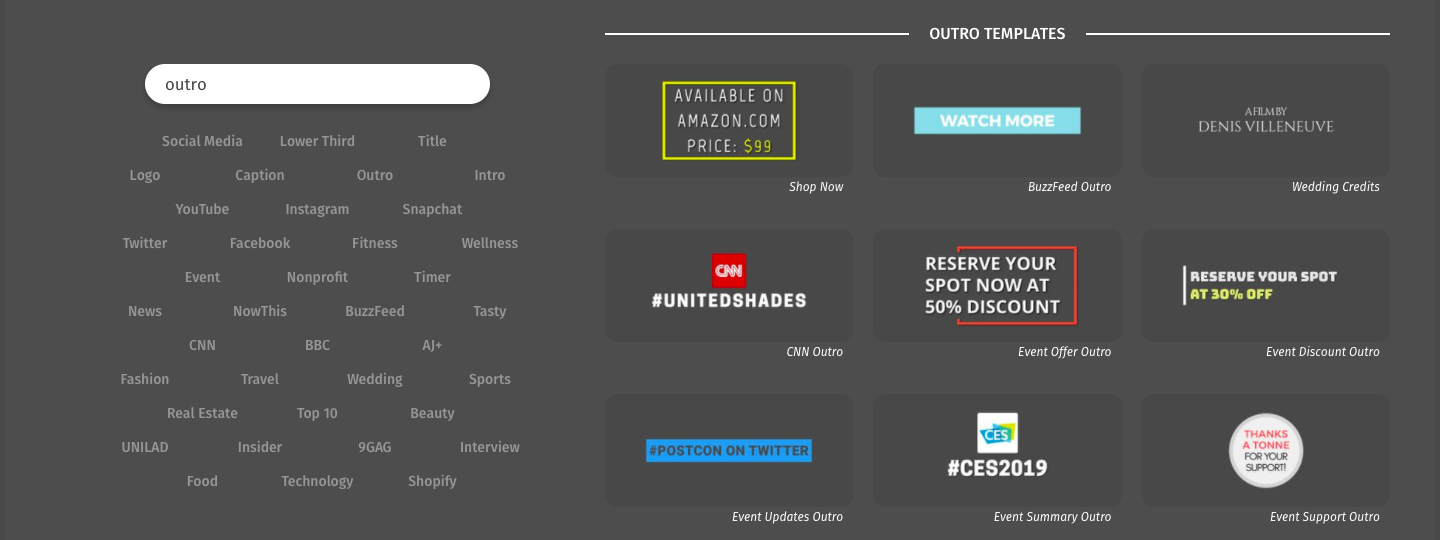
Once you find something you like, click on it to open up the template showcase page.
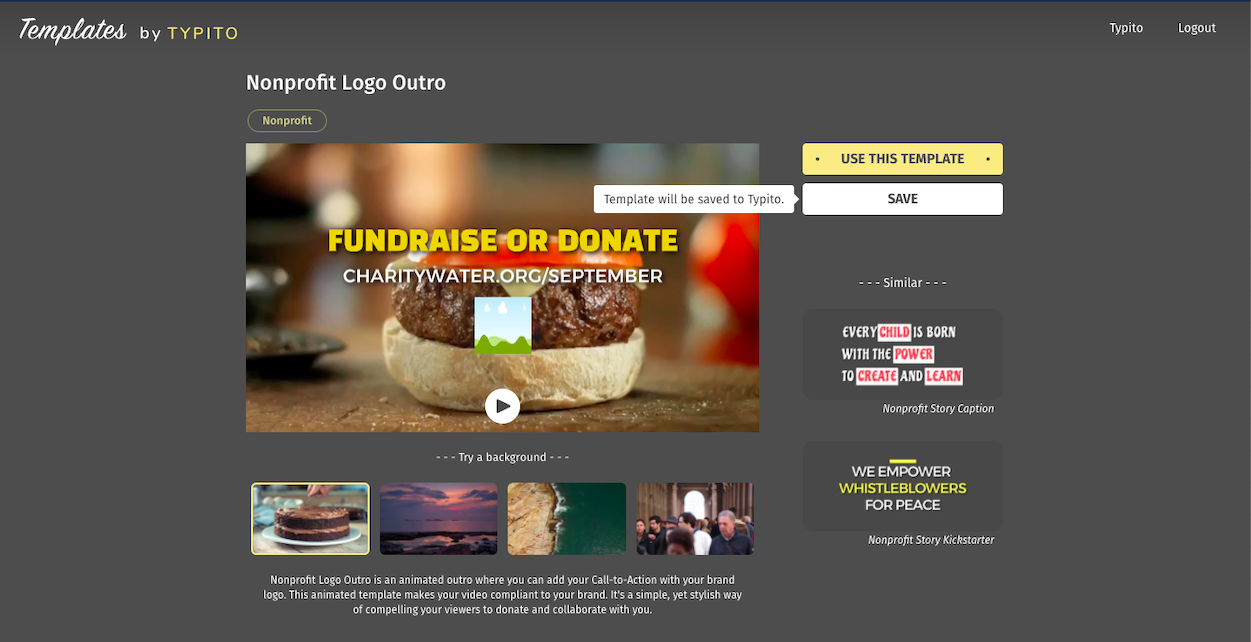
Click the ‘Save’ button and head back to the project page. Once you refresh your page, the template will show up in the saved menu under the Text tab.
To add a logo to the template, select the template you’ve just edited and then click on the logo placeholder. Click on the thumbnail of your logo to place it on the template. Align it right at the center of the screen and resize it accordingly.
Give your video a quick preview. If you like how it looks, click export.
That’s it! You just went over four different ways to add a logo to your video with Typito