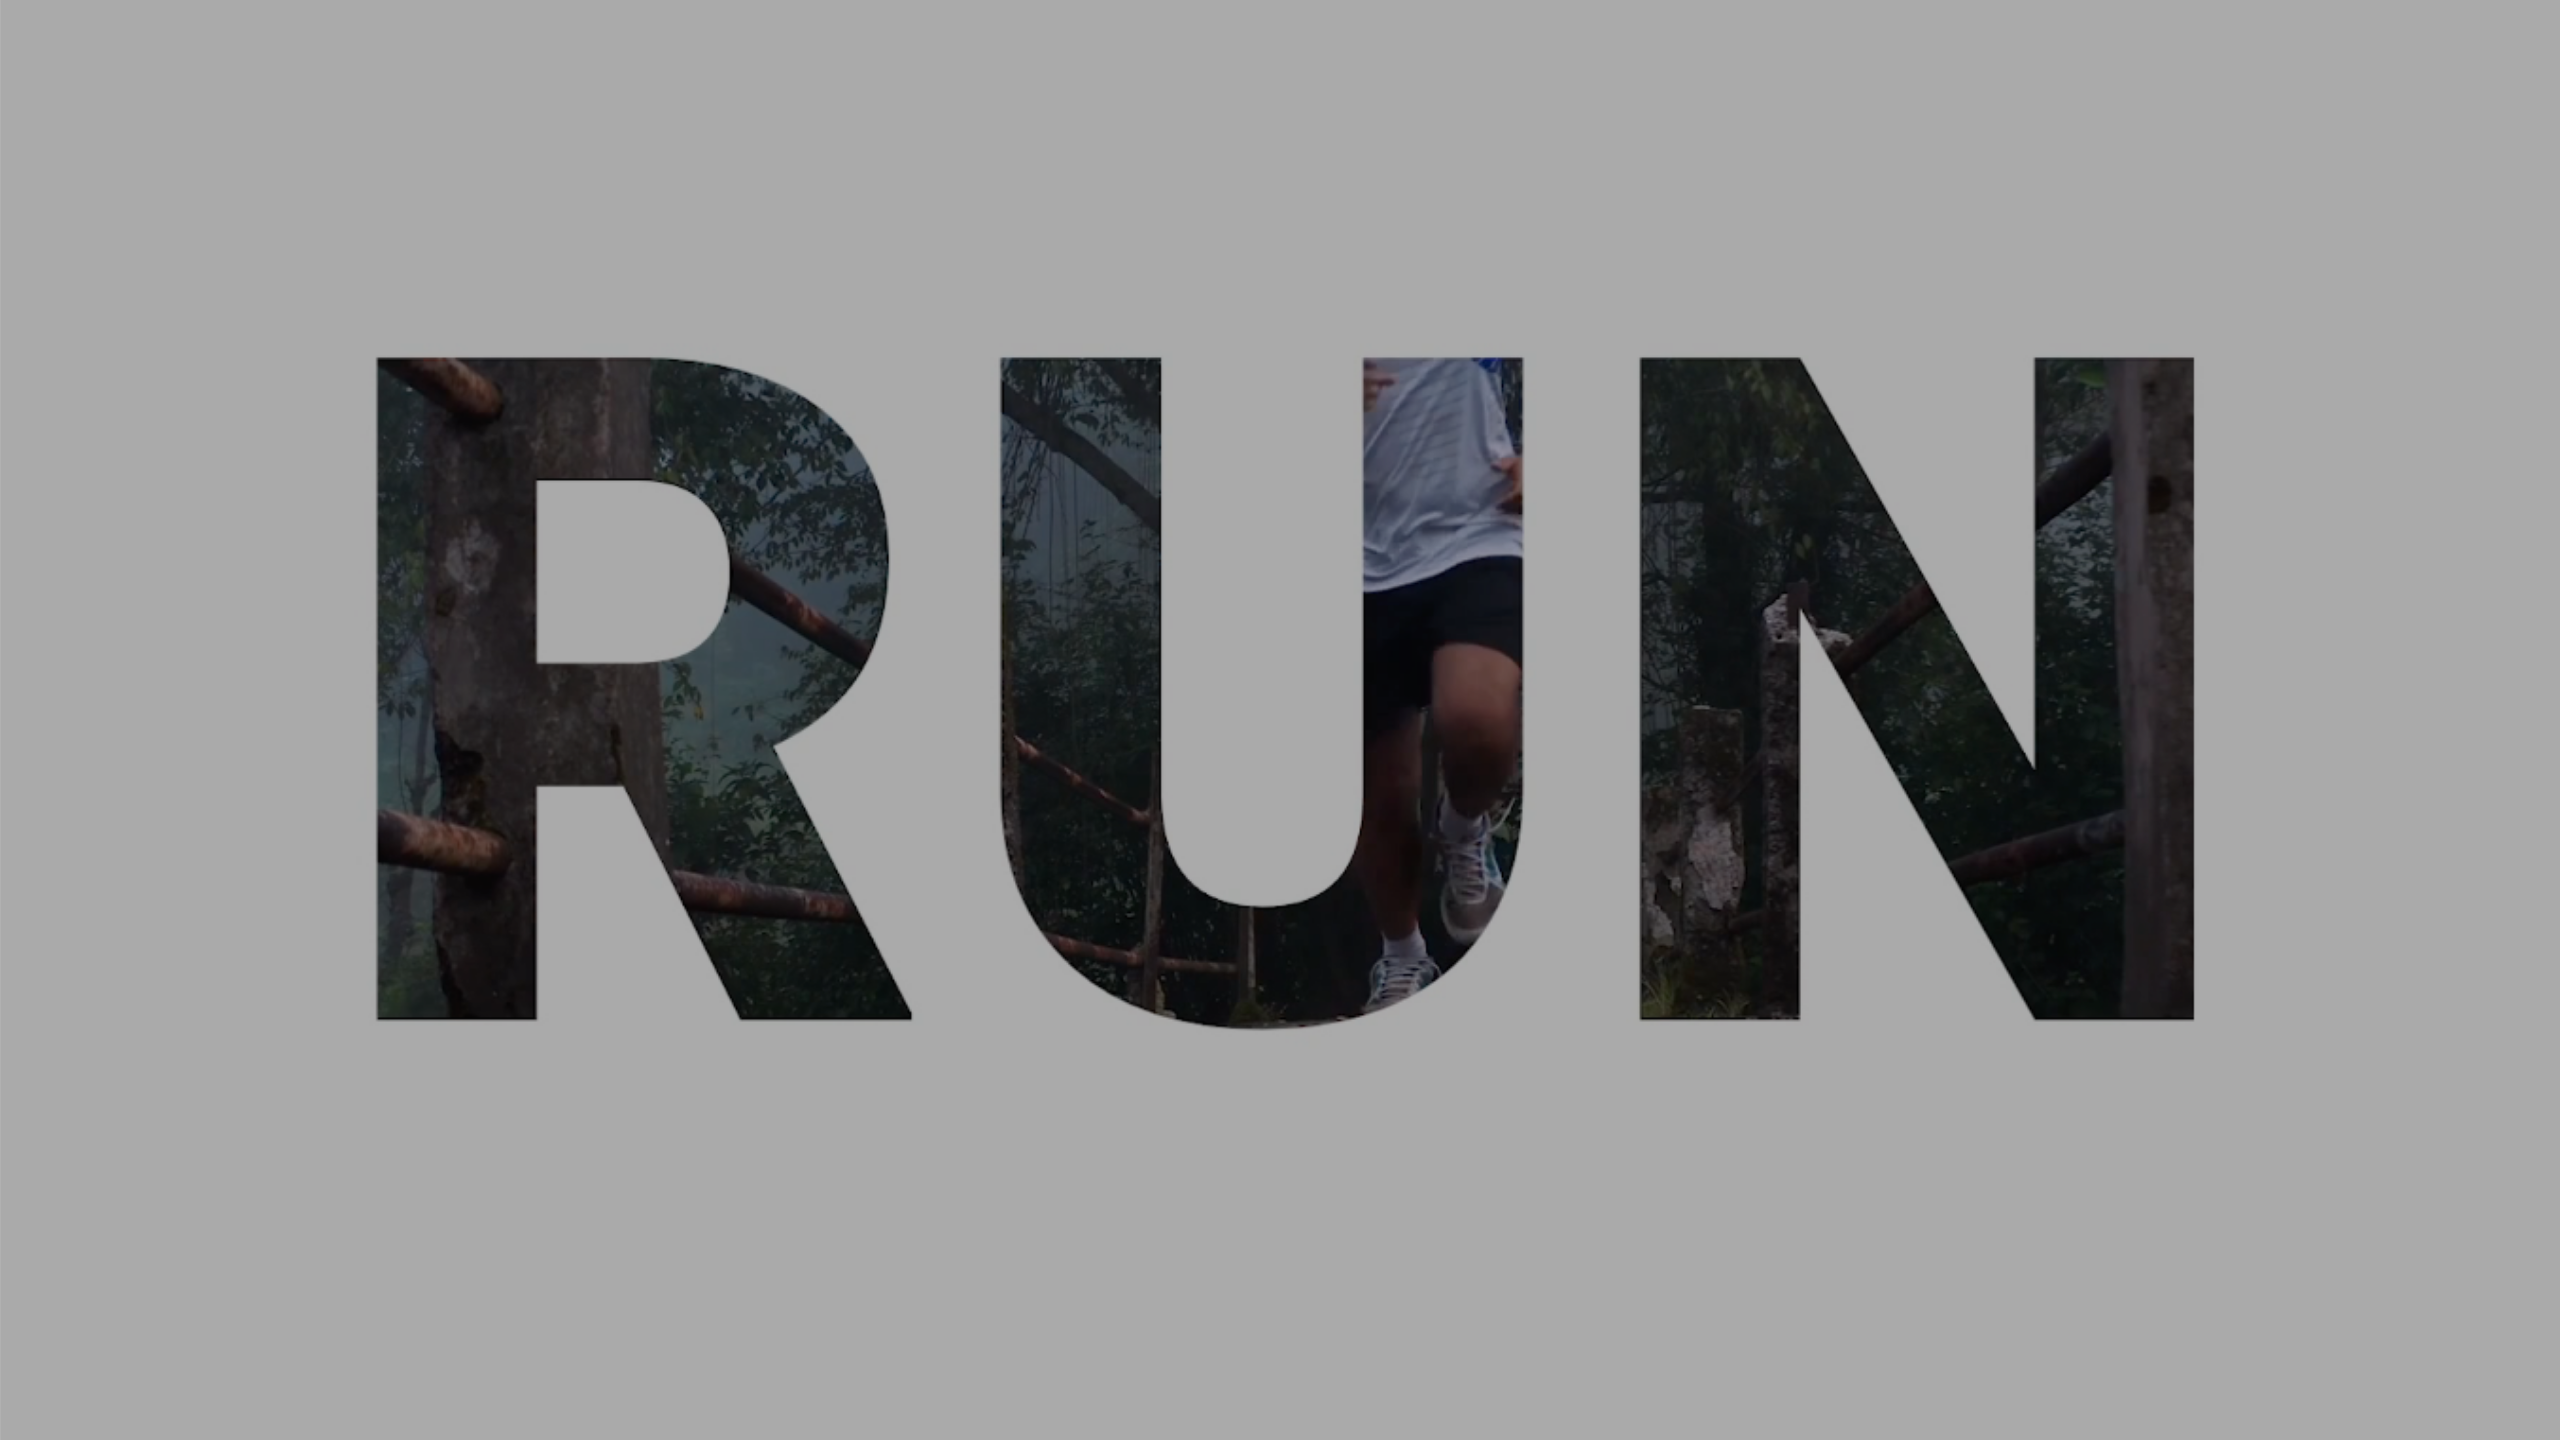
Are you looking to spice up the text in your next video? Creating a video where the footage is placed within the text is a very popular effect. Creating the ‘video inside text’ effect was once a daunting task as you needed to learn and use conventional, heavy-duty video editing software like Adobe Premiere Pro or Final Cut Pro.

Not anymore. With Typito, you can create a jaw-dropping video with the “video in-text” effect in 5 easy steps. Even if you have limited or no video editing skills. With its easy drag and drop video editing experience, Typito lets you create engaging videos with text.
Video inside text videos is a great wave to captivate your audience. It is best to use this style of videos in intros and outros of your video in order for it to stand out.
Let us see how you can use Typito to place a video within the text
STEP ONE
Create a new project on typito.com - select the right format for your video For this project, we choose the 16:9 format best suited for Youtube. Followed by uploading the video you want to use as your background.
STEP TWO
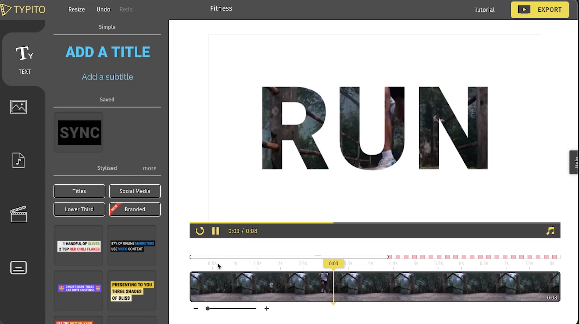
The next step would be to go to Typito’s template gallery. Go to the search bar and type in - ‘stencil’. This search reveals four different options of stencil templates - these are text templates that support placing videos within them. We choose this one - the music stencil.
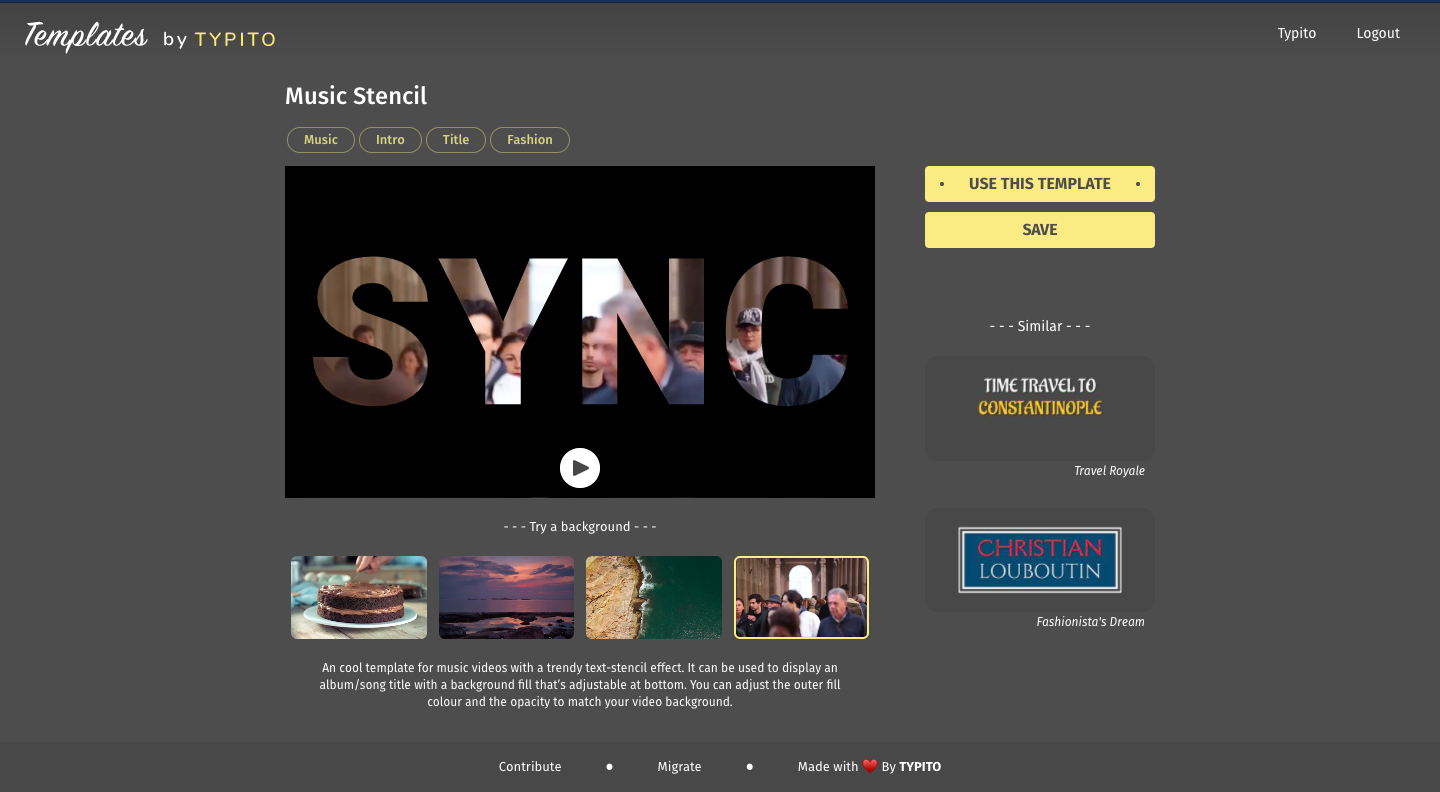
When you click on it - you will be led to the template showcase page. This is where we preview how the template will look in your video project. This looks pretty good. Next, we click “ SAVE”. Shall we move on to step three?

STEP THREE
Move back to your project and refresh it. The saved template will appear in your saved menu. Click it to add to the timeline. Adjust the template according to your requirements - placed in the center or over the entire screen. The template placement and sizing are completely customizable according to your requirements.
STEP FOUR
A crucial part of the process is choosing the right word or sentence to add to the stencil. If it is an introduction to your video - It can be the title of your video. Whereas if it is the end - words such as Subscribe, Comment down below fit in perfectly.
A key aspect to keep in mind is to make sure that the word, as well as the video in the background, compliment each other.
Change the color of the stencil to a color that is easily seen and a good contrast to the video in the background. If you want the background video to be seen - decrease the opacity of the template.
The duration of the template can also be adjusted in the timeline by dragging the markers to the position and duration that you choose. Also, add in the animations just to add a little flair.

STEP FIVE
Give it a quick preview. If you like the way it looks - click export.
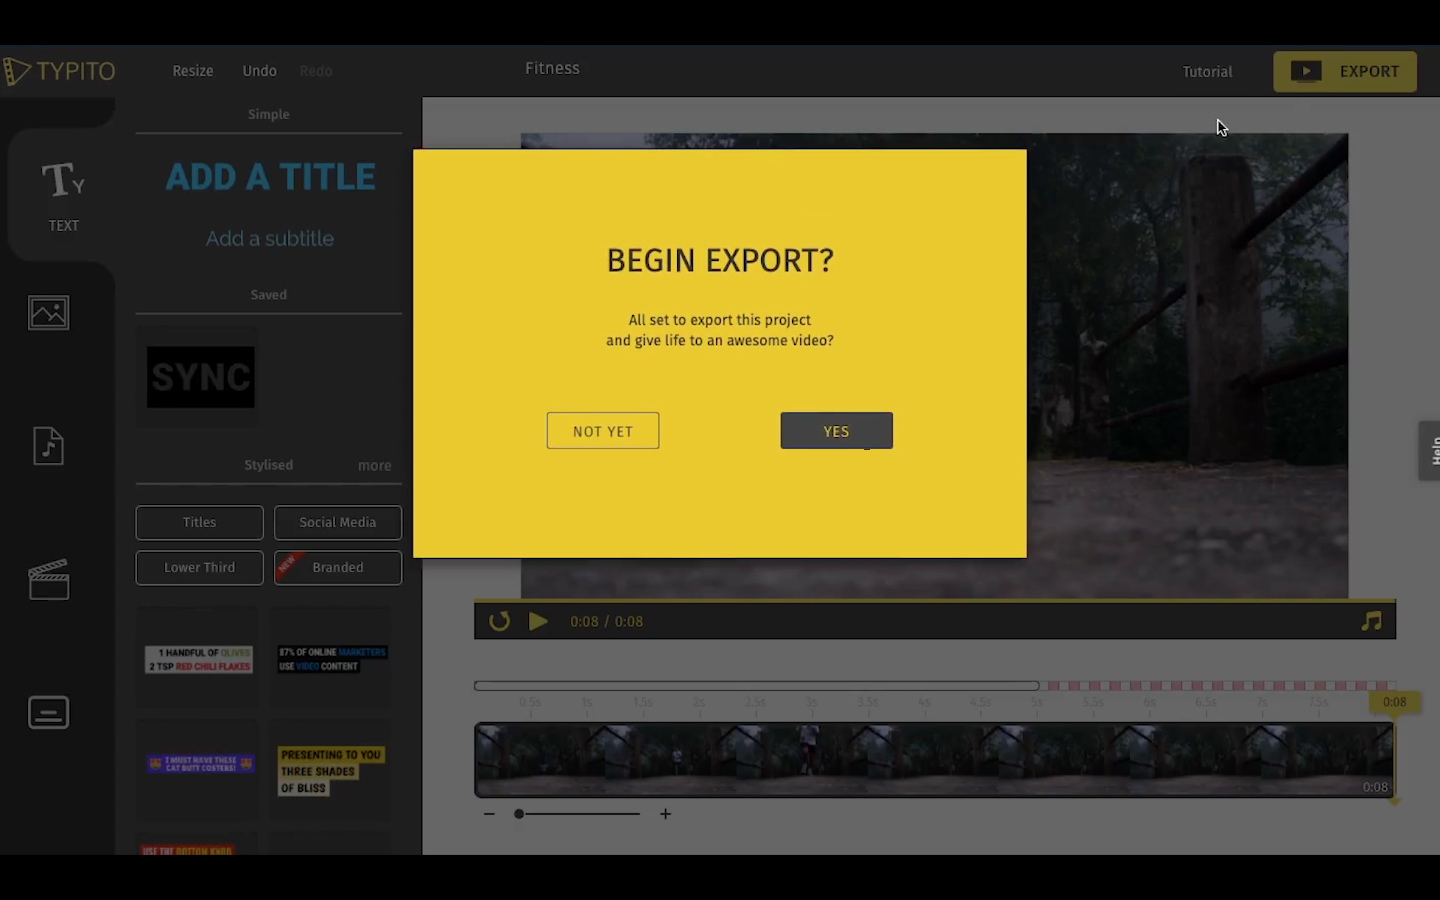
Preview the file one last time before you click download. And you are done.
An amazing looking video with a ‘video-in-text’ effect in just a few minutes. We also created a video tutorial that might help you understand the process better. Check it out and tell us what you liked.
https://www.youtube.com/watch?v=xUsn4Ecd9ag