
Working with media on the timeline
The timeline is where your video takes shape. This guide covers getting media in, arranging it, and trimming it down.
Add video and images
There are two routes, and they work the same for video and images.
From the timeline — click the + on the timeline, then drag and drop your files or click to browse your computer. Once uploaded, click a file to add it.
From My Media — open My Media in the left panel and click Upload. When the upload finishes, use the Add dropdown to choose where it lands, such as adding it as the last clip on the timeline.
A new project prompts you to add media straight away, so you can skip both.
Use stock footage
Typito includes a large library of stock images and video from Unsplash and Pixabay. All of it is copyright-free and free to use in any project.
1Click Stock in the left rail to open the Stock Media panel.
2Search for a topic — "nature", "birthday", "football".
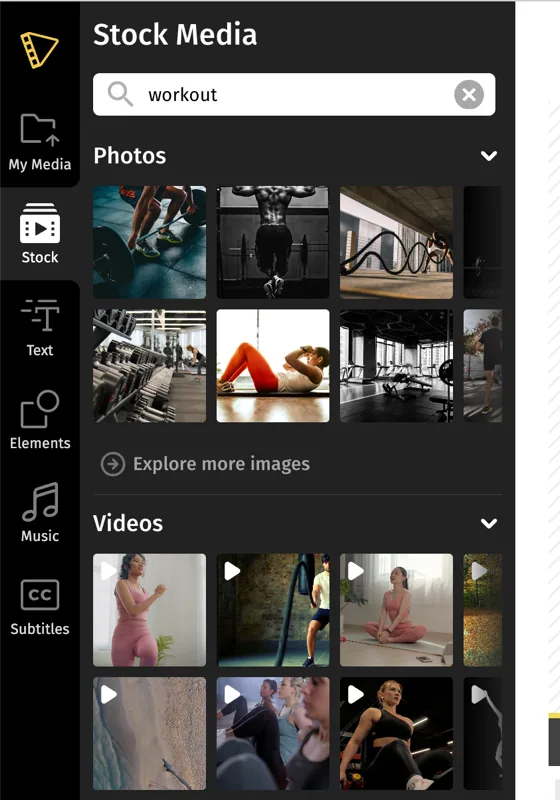
3Click a result to add it to the timeline. To place a stock image as an overlay instead of a full clip, drag it onto the canvas, or click the three dots and choose Add as overlay .
Insert a clip between two others
1Hover the clip you want to insert after, and click its + icon.
2Click Add Media .
3Choose or upload the clip and click Insert .
Once it's on the timeline you can drag it to reorder.
Insert a placeholder clip
A placeholder is a solid-colour background clip — the simplest way to build an intro or outro title, introduce a new section, or end with credits. It's also handy for slideshows and presentations.
1Click the + at the end of the timeline, bottom-left. If you can't see it, zoom out with the magnifier icons until it appears.
2In the Add Media window, click Insert Placeholder .
3Pick a colour and a duration, then click Apply .
Edit a clip
Click any clip on the timeline to select it. A set of controls appears:
- Trim — drag the handles at either end to shorten a clip, or to lengthen an image clip.
- Crop — reposition the clip so it stays properly framed in a square, vertical or widescreen video.
- Cut / Split — the scissors icon splits a clip in two at the playhead. Position the playhead first, and zoom in for precision. Video only.
- Delete — the bin icon removes the clip.
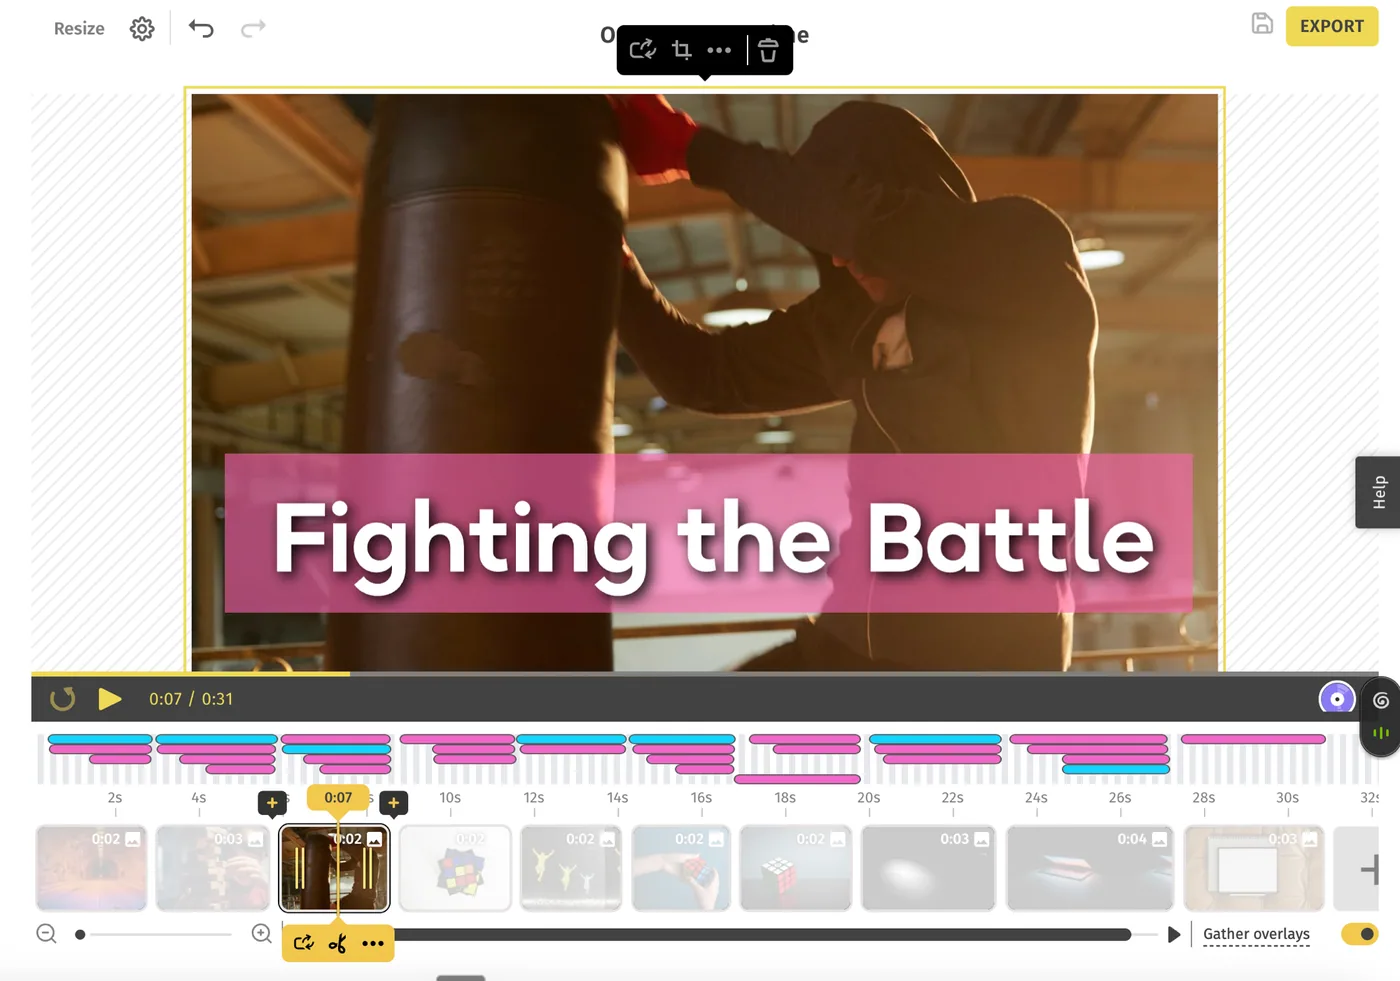
Selecting a clip also gives you Replace and the properties panel.
Reorder clips
Click a clip and drag it along the timeline to change where it sits in the sequence.
Change how long an image is on screen
Select the image on the timeline and drag the handles on either side. Video clips trim the same way, but can't be extended past their own length.
Replace a clip
1Select the clip on the canvas — a Replace icon appears in the seek bar or action bar.
2Choose Uploads or Stock .
3Pick the new image or video. The clip's position and timing stay put.
Rotate a clip
1Select the clip on the timeline.
2Click the side arrow icon to open the Properties panel.
3Open the rotate tab and rotate by 90°, 180°, or set a precise angle. The canvas previews as you go.
Delete a clip — and undo it
Select the clip and click the bin icon.
There's no way to restore a clip deleted earlier in a session, but you can undo immediately with ⌘Z (Mac) or Ctrl + Z (Windows).