As a YouTuber, your content has the potential to reach an international audience. With the number of people worldwide who have access to the Internet steadily growing, countless new viewers are turning to YouTube to watch a broad range of video creators.
If you're looking to tap into a worldwide audience on YouTube - Language doesn't have to be a barrier. You can now translate any YouTube video into almost any language.
This is a big deal for people who don't understand dominant languages like English or need subtitles in their native language.
It's clear that your video content can reach more people if it is translated. Adding subtitles in more than one language to your videos makes it easier for search engines to figure out what was said in them. This makes it more likely that your videos will appear in more than one language search result.
Here's why video translations are lucrative to your video apart from a better video-watching experience:
- 72.1% of people like videos that are written in their own language.
- 72.4% of consumers said they would be more likely to buy a product if all the information was in their native language.
- Numerous brands facilitate learning using subtitles. Like the freshly released Learning Languages with Netflix extension for Google Chrome.
Challenges with Video Translations
Even if the original uploader doesn't provide the required language, YouTube will automatically translate the video and show you auto-generated captions. It is a highly effective accessibility feature.
However…
We often see errors in the subtitles generated automatically while viewing videos in a different language. The AI nearly always makes mistakes when encountering words with uncertain phonemes, resulting in utterly inaccurate translations.

Leaving creators with the responsibility to translate subtitles on their own is challenging. Here's where tools like Typito can come in handy to auto-translate YouTube videos and allow you to edit or add contextual translations.
Moreover, after you're done with the translation, you can upload the video to YouTube and a transcription file, ensuring that viewers who turn on closed captions will have the greatest possible experience.
Translate YouTube Videos Automatically
Step 1: Upload your video
Log into Typito if you already have an account. (You can get started directly and sign up for an account later.)
Choose the format based on the platform on which the video will be posted. Typito gives you different options depending on the platform on which you intend to publish your video—like 16:9 widescreen, 9:16 vertical, 1:1 square, and 4:5 story.
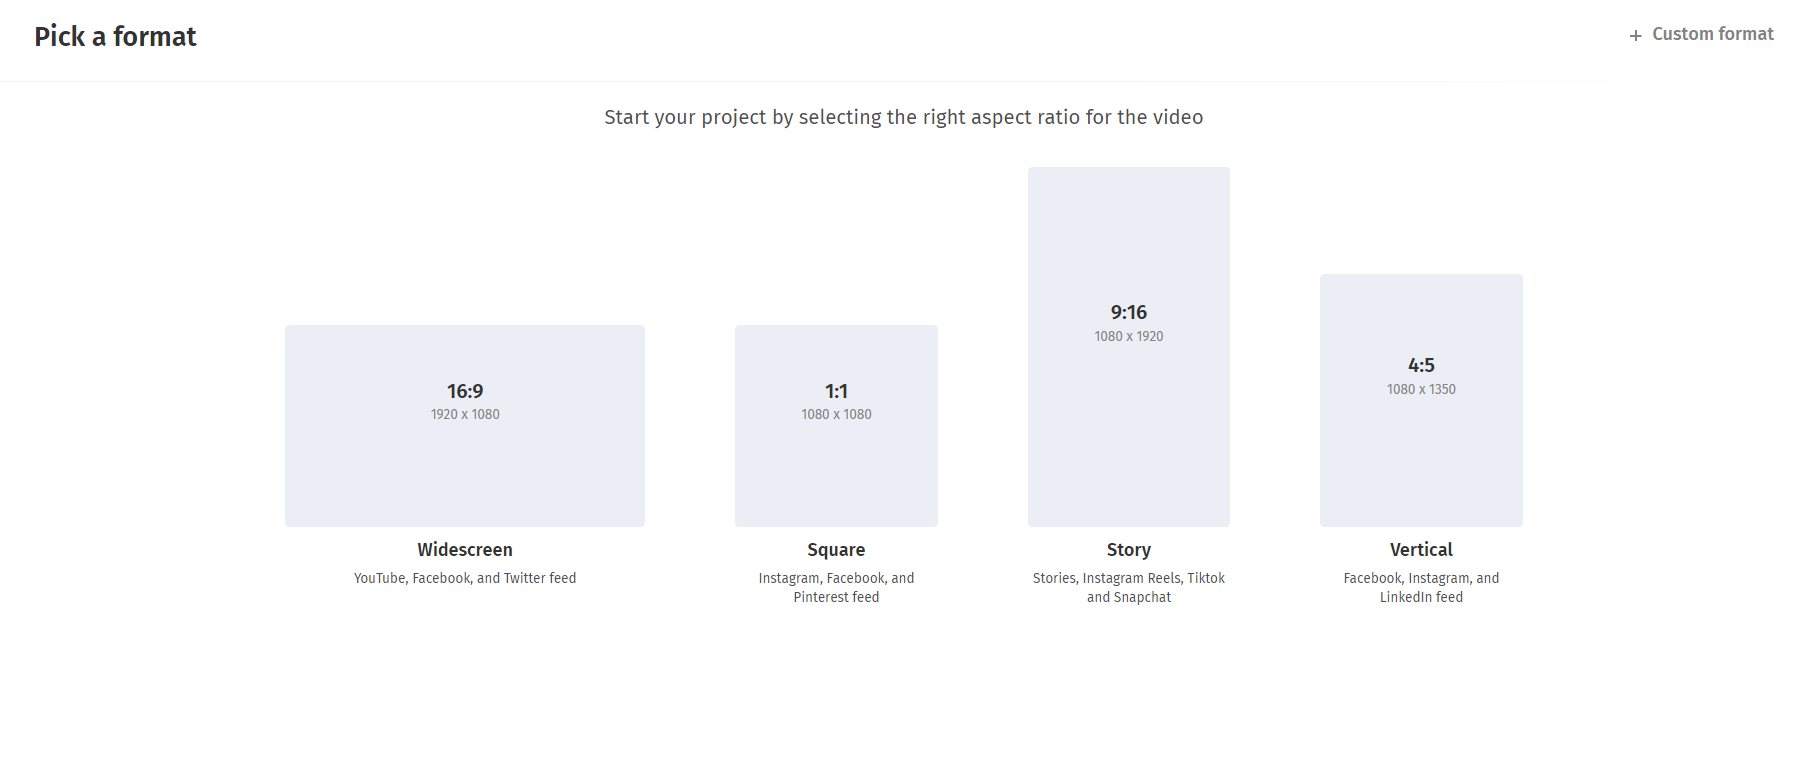
After choosing the format you want, you upload your video file so it can be translated. You can add files from your local storage or Google Drive by navigating to them or by dragging and dropping them.
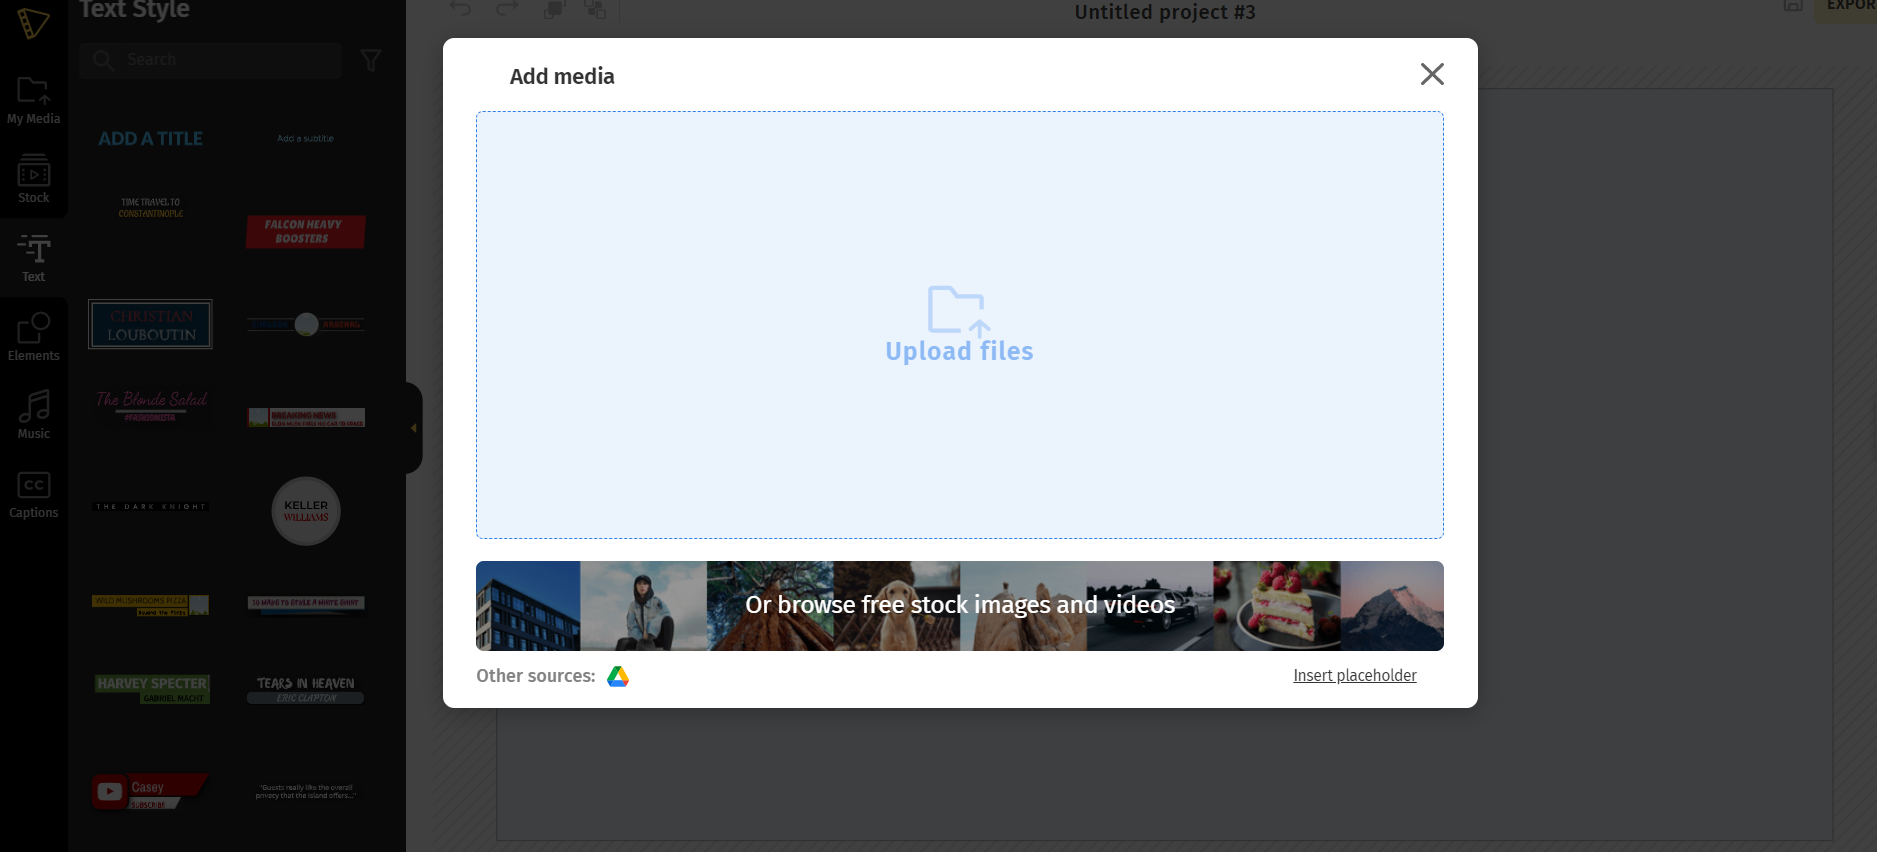
Once your video is uploaded, it will appear on the canvas.
Step 2: Auto-translate your video
Next, click Caption to enable auto-captions. Move to the left side of your body and caption (last tab with the CC icon). Choose the caption mode that best suits your needs: either "Auto generate”, "Upload media file."
In this instance, it would be auto-generated since we are automatically translating the video.
Step 3: Choose your translation languages
Typito has over 100+ languages to choose from. Choose what language your video is in. Select the language in which you would want your captions to be generated.
To proceed, click next.
Click the "Start" button. When the translation is complete, you will be able to see it on the left panel in addition to seeing it in the video.
Step 4: Review your translation and style your translated captions
Be sure to go through it thoroughly and verify that there are no errors or omissions and that everything is where it should be. Even though the Typito AI program guarantees a high level of accuracy, it is still important to proofread everything.
Click on the "Style" button. Typito lets you completely personalize the visual effect of your captions by allowing you to choose the font, style, size, color scheme, and even the amount of spacing between words.
Click on the three dots that appear after the bold and italics options to make changes to the size.
Step 5: Export your translated video
You can check one last time to ensure everything is in place and make any necessary edits or adjustments.
Next, export your video. In a few minutes, your video will be ready to be downloaded. Once your video is exported - click "Download Video" to save your translated video to your computer.
If you want to download your transcription file - click the ‘Download subtitles’ button.
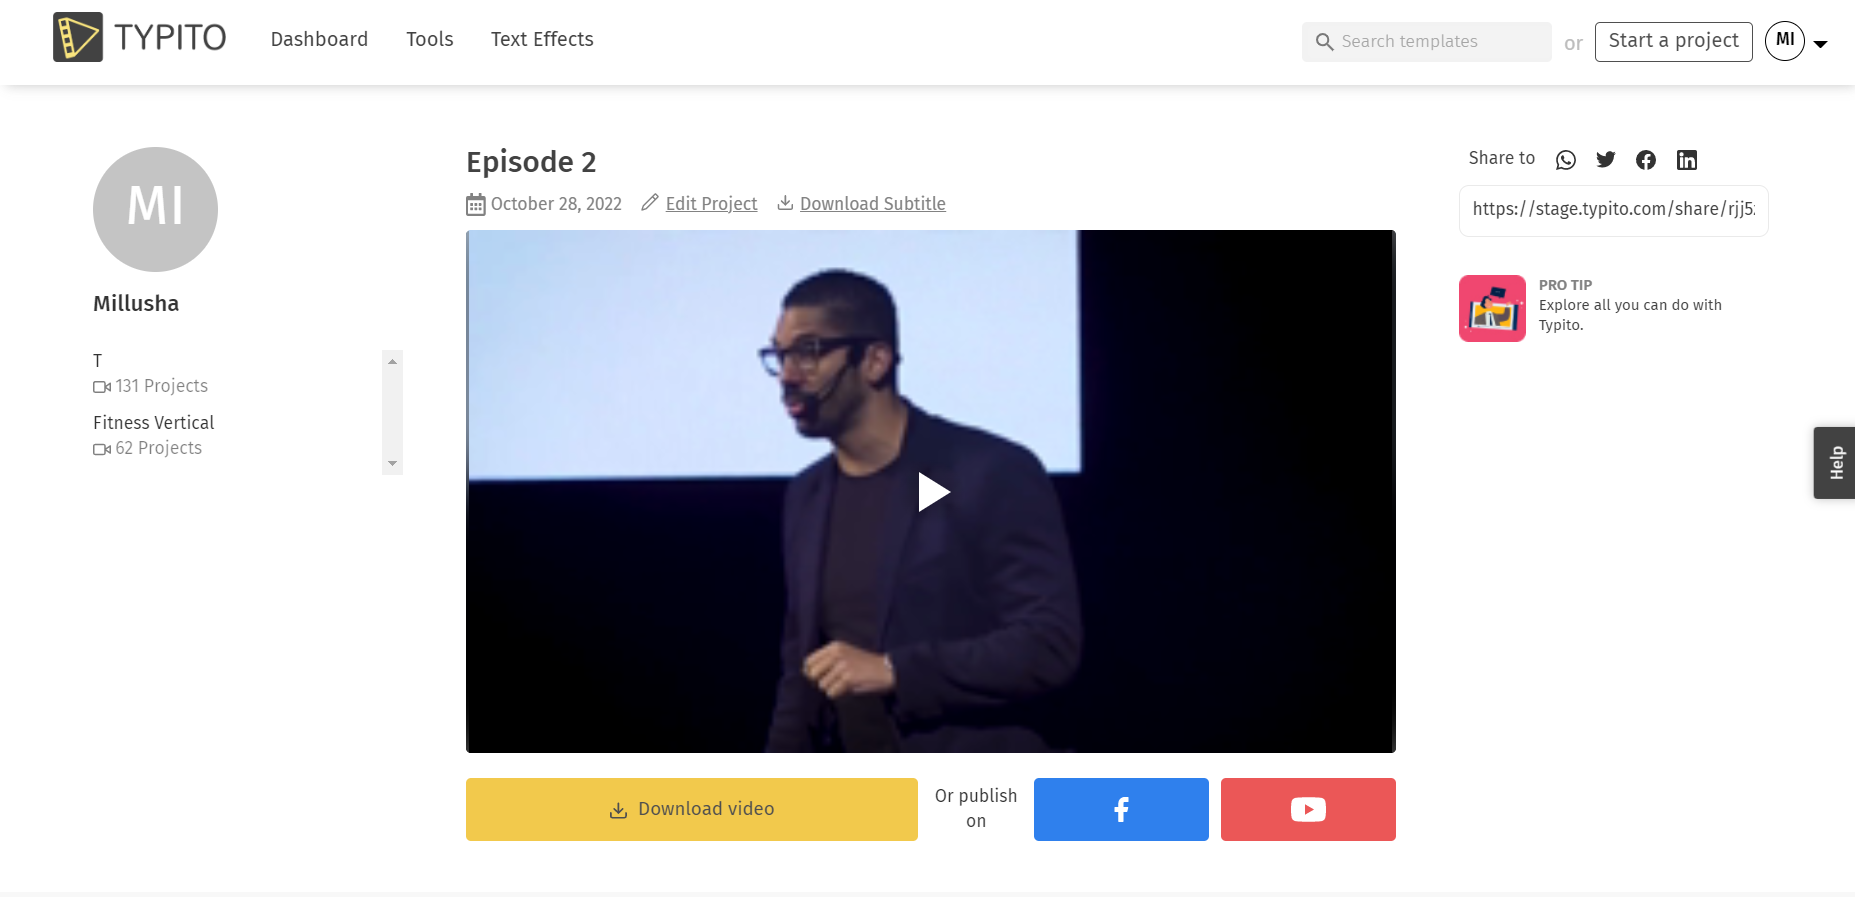
Both your translated video and your transcription file are ready to go. You can directly upload the video to any of your social media platforms.
You've already translated a video and are getting ready to upload it to YouTube; now you need to absolutely make sure that you include translations for the titles and descriptions of your YouTube videos. This will make it easier for your audience to locate your videos in their native language. When you translate your videos, you make them more easily accessible to viewers who aren't located in your native nation or area, which in turn helps you grow a worldwide audience.
Let's conclude
If you are already generating revenue for your YouTube channel or plan to do so, integrating subtitles into your videos might offer you a significant return on your initial investment.
With Typito, you can create a one-of-a-kind design by editing your subtitles on the video to make them match your branding and unique video style. Whether you work for a small startup or a large corporation, the videos you create will always accurately represent your brand.
With a quicker way to translate videos and necessary tools like Typito, you can quickly ramp up your video production for the year and better prepare yourself (or your team) to undertake more complex video projects. Okay, so what do you think? Ready to give it a try?




![How to Create a Moving Picture Effect [Add motion to photos]](/blog/content/images/2023/07/Blog-Articles---Featured-Images-Illos--60-.png)