Subtitles are a very important aspect of videos. It can make the viewer engage with the concepts and ideas shared in the video than just plainly viewing it. If you are a YouTube video creator or a video marketer, you need to make your videos likable and shareable across the social media and channels to stay ahead of the competition.
Videos with attractive open and closed captions, highlighted texts, and subtitles grab people’s attention. It will also make your video likable on YouTube a well as shareable on Facebook, IGTV and other major platforms. In this blog, we present you a complete guide to add engaging subtitles to your YouTube video.Why Subtitles are Important?
- Subtitles make videos enjoyable to people who are not familiar with the language used in the video or are learning it.
- You can target any country you would like to grow your audience.
- Helps you to diversify your content to a wider audience.
- Lets you add subtitles for signs, letters as well as actions along with the dialogue to aid people who are learning a new language or people who are completely or partially blind or have a hearing impairment to enjoy the video.
- Help to reduce the cost of voice dubbing the entire video content you produced for other countries or for people who are not familiar with the language of the video you produced. One big bonus about this approach is that you can also keep the original audio track of your video.
How to add Engaging Subtitles to Your YouTube Video
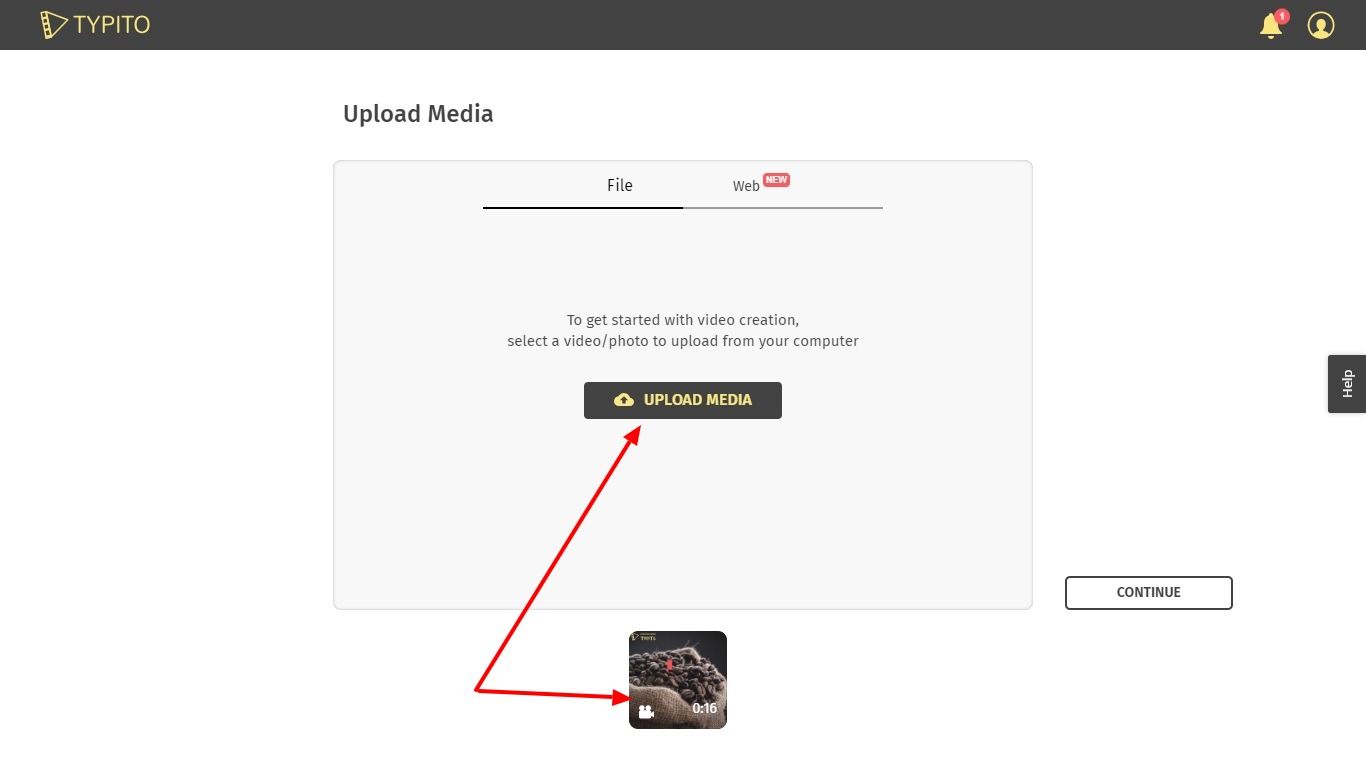
You can add subtitles for YouTube videos in two ways. You can directly go the YouTube Video Manager, select your video and add subtitles manually. The other way is to use Typito to easily add subtitles and upload directly to YouTube. The method to upload subtitles via the YouTube Video Manager is as follows:1. Upload a File:
In this option, you can go with a text transcript or a subtitle file you already have. You can directly upload from your computer via using the “ choose file” option and then hit the “upload” button.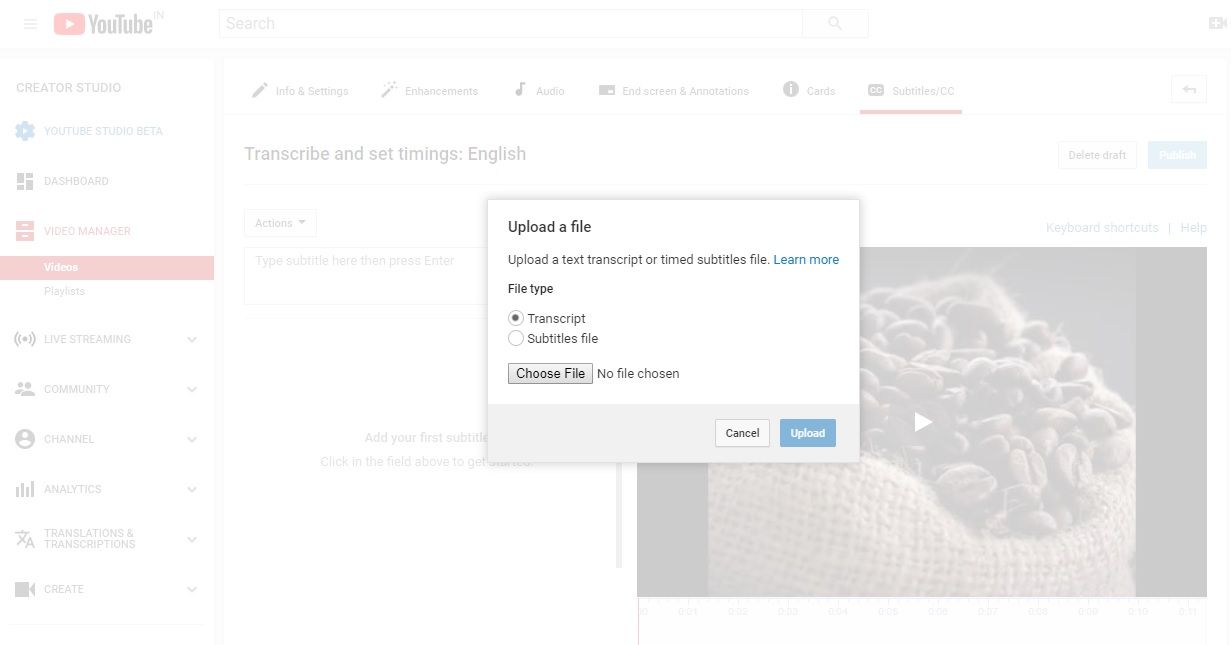
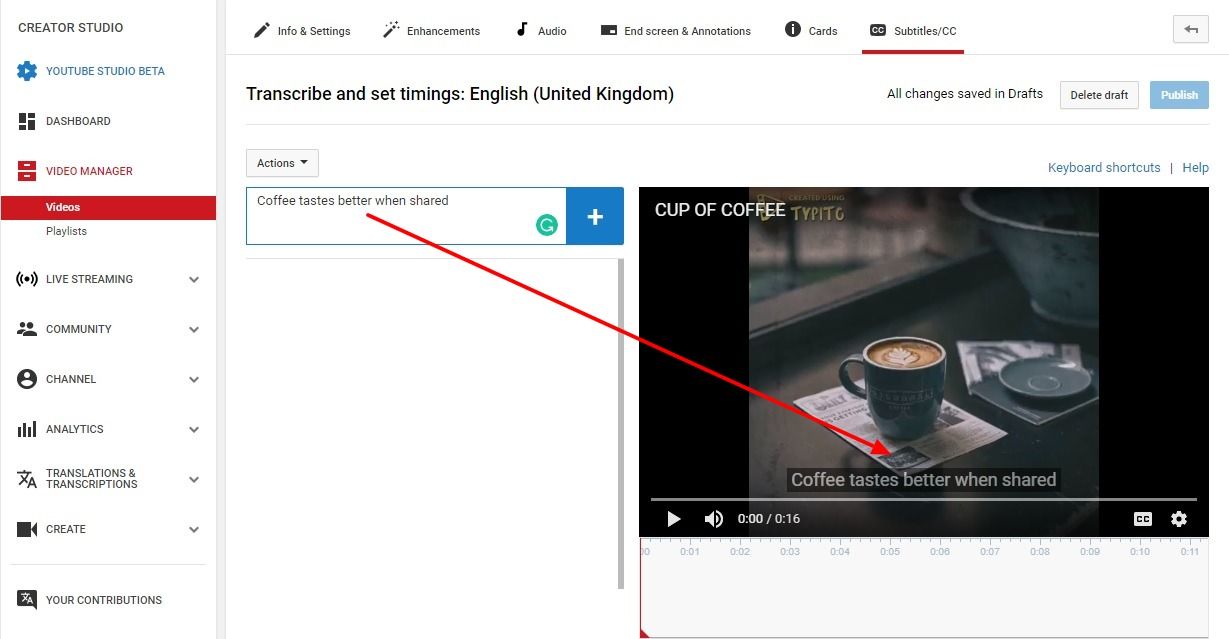
2. Transcribe and Auto Sync:
In this option, you can type in everything that's spoken in the video in the box. You need to click "Set timings" to automatically synchronize your subtitle text with the speech in the video.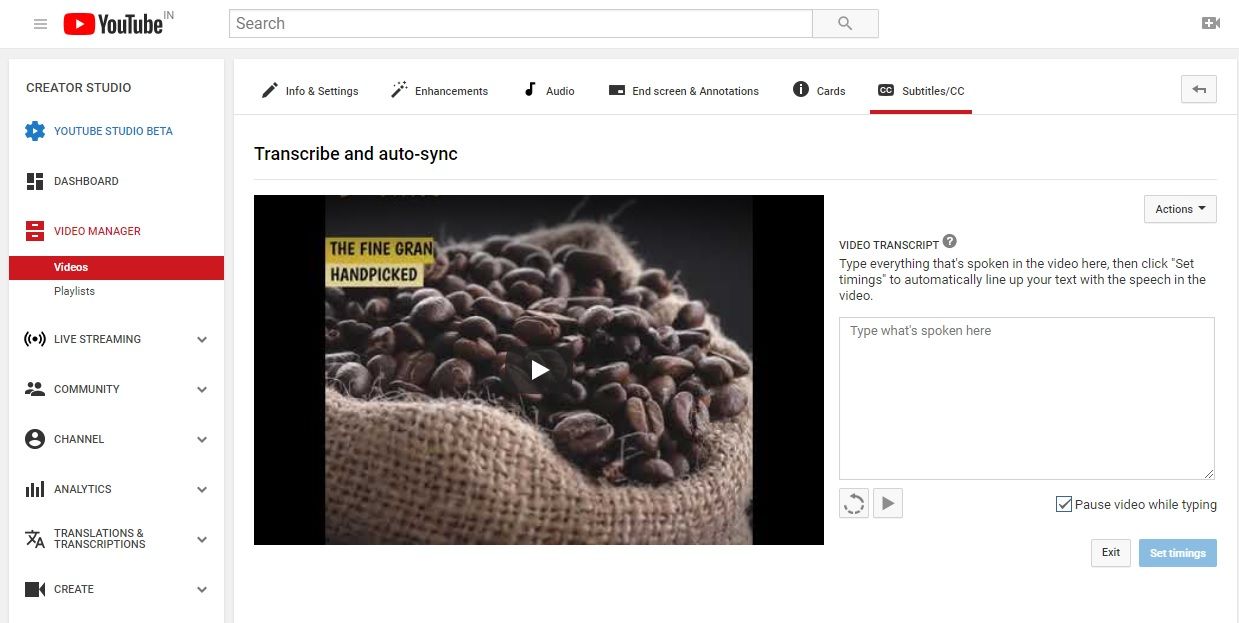
3. Create new Subtitles or CC
To create subtitles manually, you need to follow the steps explained below.
- Go to the YouTube Video Manager
- Find the video which you want to add subtitles. Click the drop-down menu next to the Edit button.
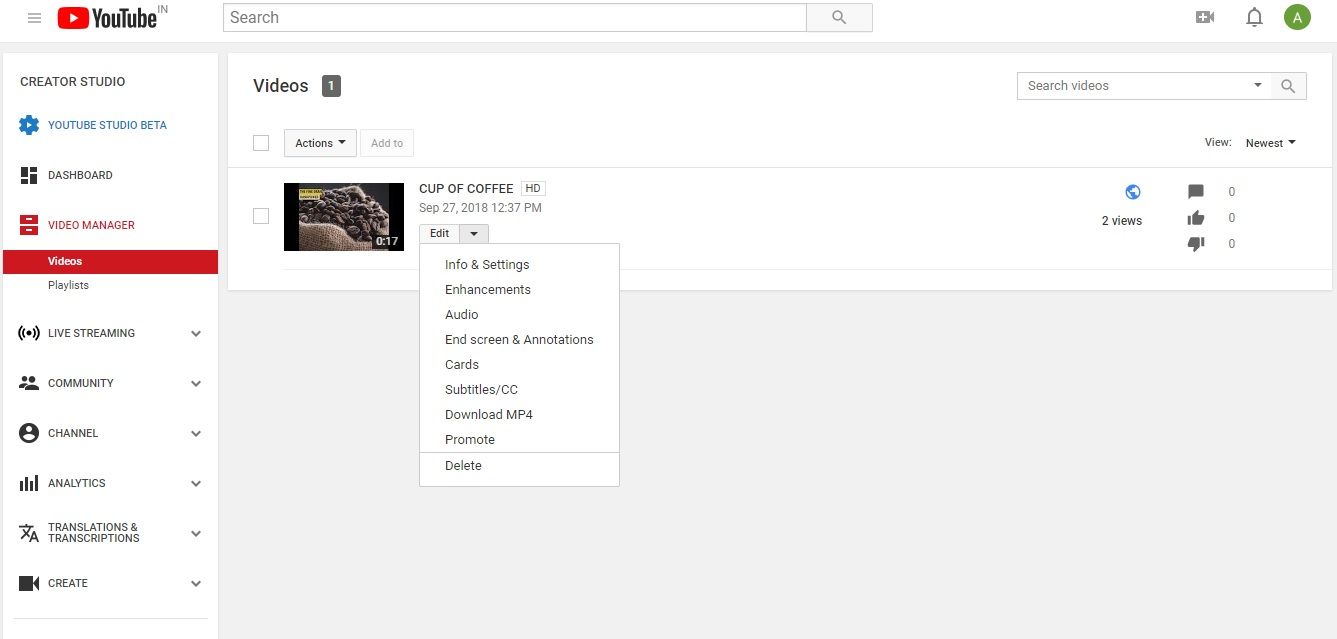
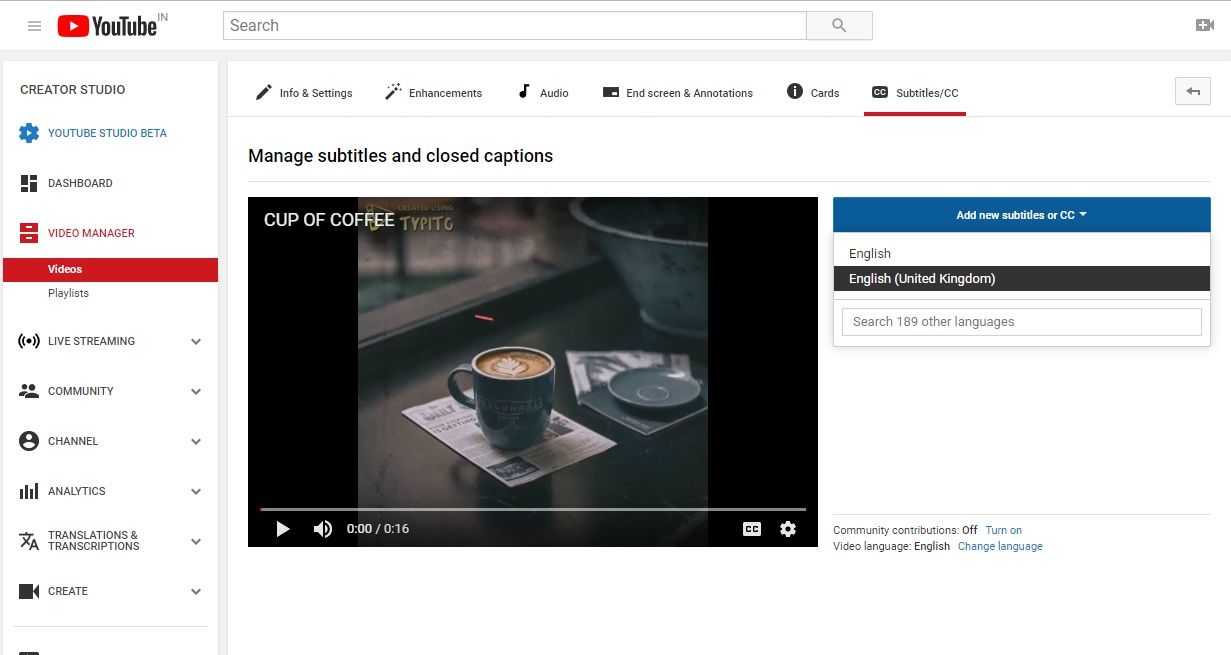
- Click on the Subtitles/CC option
- From the drop-down menu, click Select language. Now select the language which you have used in your video. Then, click Add subtitles or CC. In YouTube, you need to select the primary language before adding subtitles or captions.
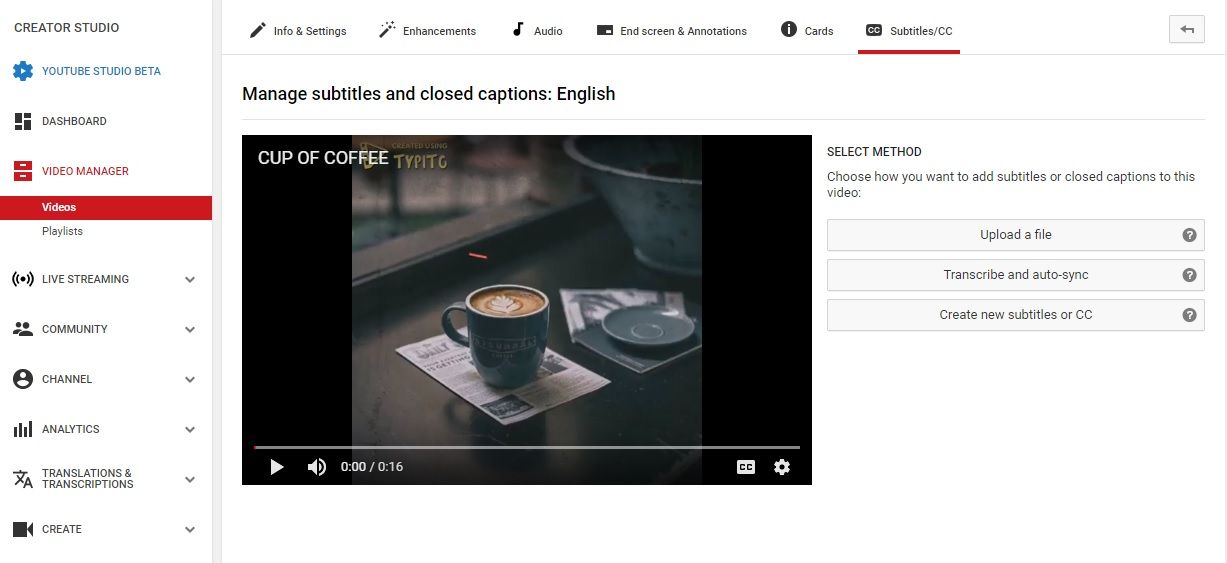
- Select Method: Choose how to add subtitle via three options; Upload a File, Transcribe and auto-sync, and Create new subtitles or CC.
Select Create new subtitles or CC.
- Play the video and note where the words and sounds in the video come out.
- Pause the video and type the subtitles in appropriate places into “Type subtitle here and press Enter” box.
- Click the add button.
- Repeat this process for all the spoken words in the video.
- Click Submit when you have finished.
Things to take care while adding permanent subtitles
When adding permanent subtitles, you need to consider:- The screen size of your video.
- You need to adjust the word spacing as well as the subtitle position to avoid people missing the important actions taking place on the screen.
- The subtitles should consume only as much space to accommodate the words.
- It should give enough room for excellent video viewing experience.

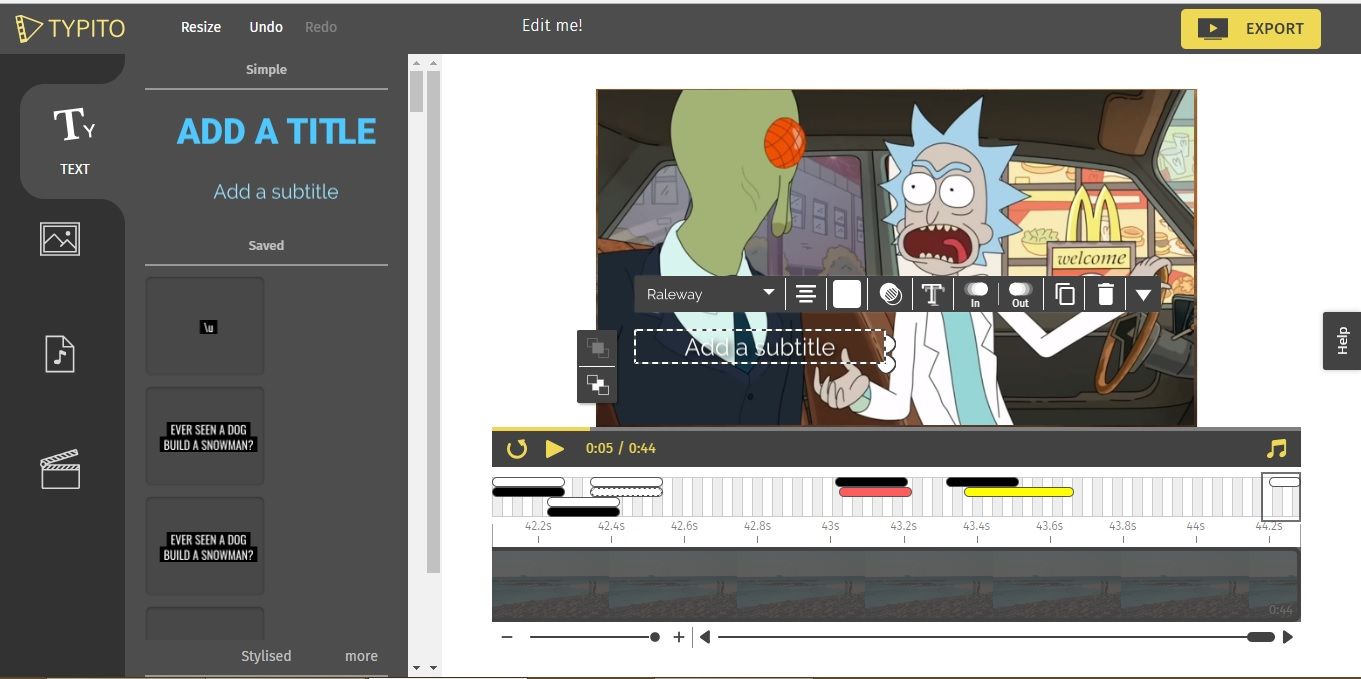
Careful Placing of Subtitles
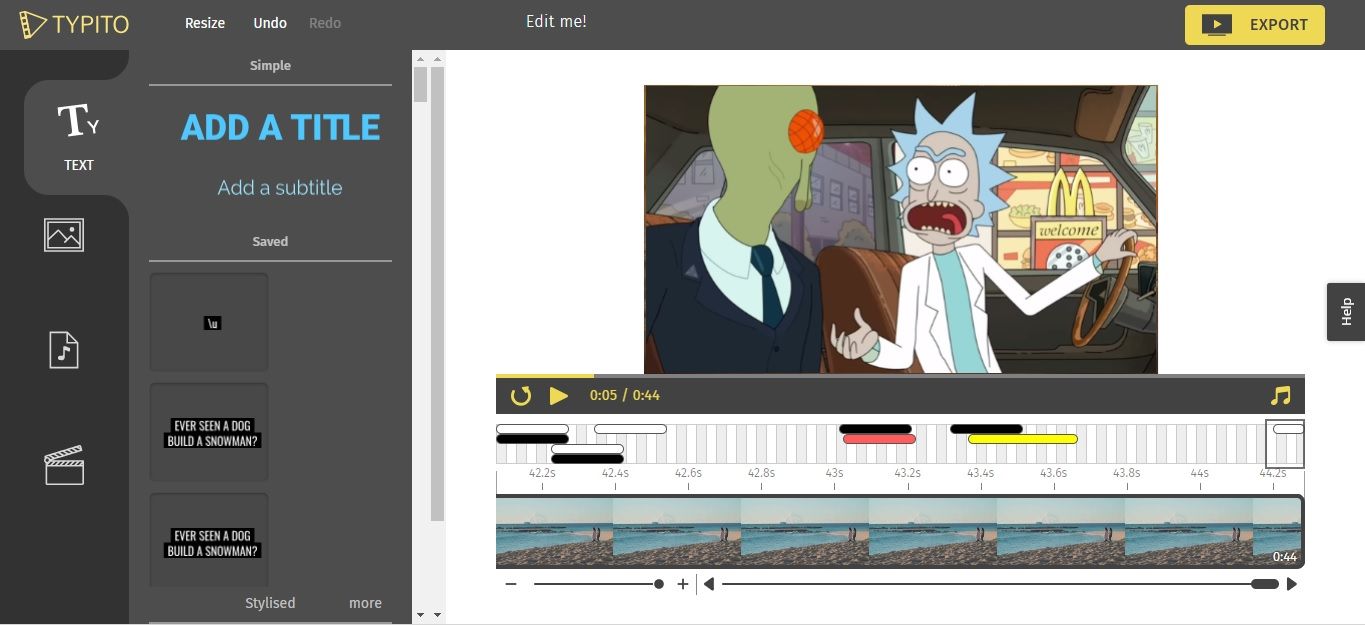
At the bottom of the editor, you can see the timeline frame stretcher. You can stretch or contract the timeline of your video using the “Plus” and “minus” icon to your desired position. This feature lets you place the text synchronized with the dialogue delivery.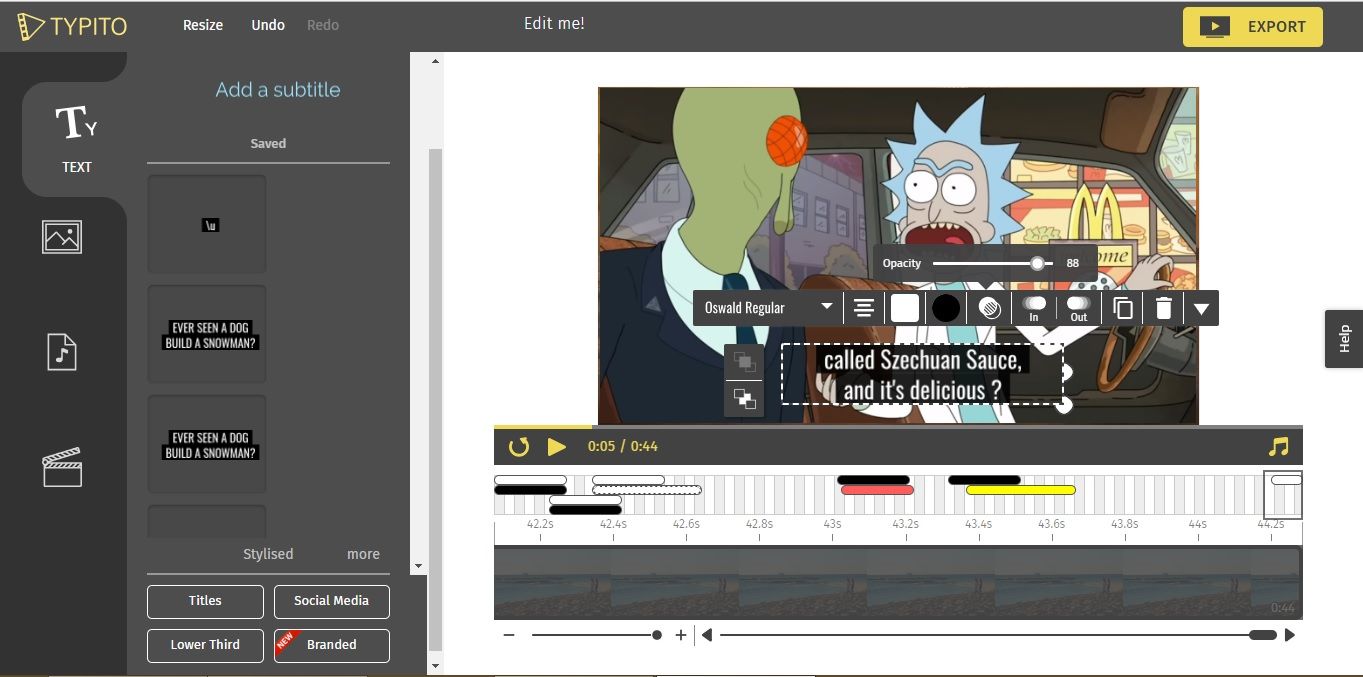
After you have placed the text, you can adjust the background color of the text or make it transparent or opaque according to your needs. The “Opacity” tool will help you to make it easier for the viewer to read the subtitles.